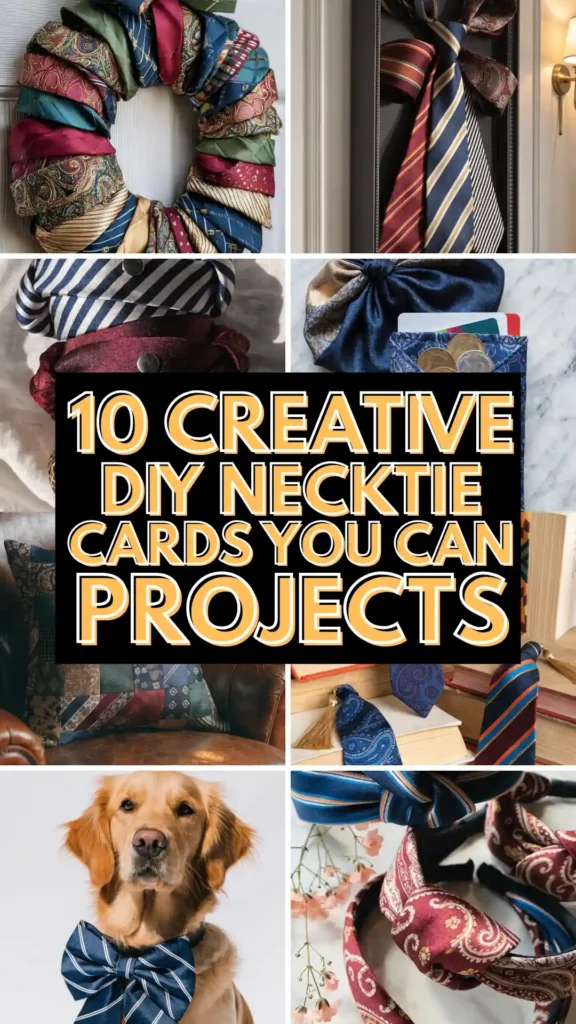
Okay so my husband had this whole collection of neckties stuffed in the back of the closet that he hadn’t worn in probably five years. Some of them were genuinely ugly, some were actually really nice fabric, and all of them were just sitting there doing absolutely nothing. I kept walking past that closet thinking there had to be something better to do with them than donate the whole pile to Goodwill. So I started looking into what people actually make from old neckties and I was genuinely shocked at how many good ideas there are.
The fabric in neckties is actually really special when you think about it. Most ties are made from silk, polyester with a silk-like finish, or high quality woven fabric with interesting patterns – stripes, paisleys, small geometric prints. That fabric is already cut on the bias which gives it this beautiful drape, and the shape itself is iconic and instantly recognizable. You’re not just working with a scrap of fabric, you’re working with something that already has structure and character built right in.
What I love about necktie projects specifically is that most of them require very little sewing skill. A lot of the best ideas use the tie mostly as-is, just repurposed into a new context. You’re not cutting it apart and starting from scratch – you’re seeing what the tie already is and giving it a new job. And because ties come in so many colors and patterns, you can find combinations that work for almost any aesthetic you’re going for.
These projects also make incredible gifts, especially for Father’s Day, birthdays, or for someone who lost a loved one and wants to keep their ties in a meaningful way. Whether you’re working with ties from your own closet or picking up a handful from a thrift store for practically nothing, these ten ideas will completely change how you look at a pile of old neckties.
1. Necktie Headband
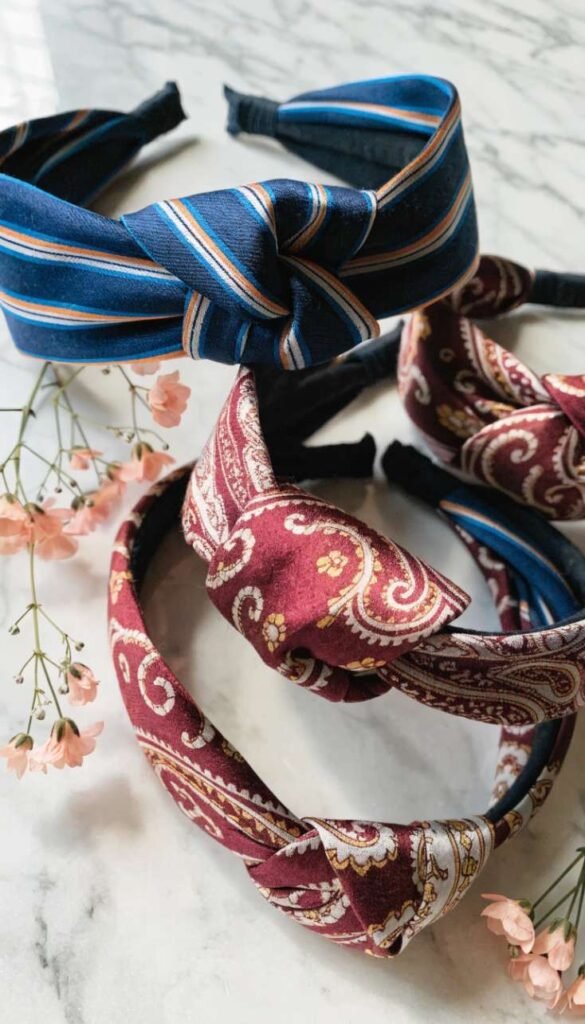
This is one of those projects where you look at the finished product and think “that’s so obvious, why didn’t I think of that sooner.” The pointed tip of a necktie is already the perfect shape for a bow or knotted headband detail, and the fabric is gorgeous enough that it looks like something from a boutique. You basically fold the tie, secure it to a plain elastic or hard headband base, and you’re done. Silk ties look especially luxurious as headbands and the pattern options are endless. These are so quick to make that you can knock out a whole set in an afternoon.
What It Is: A fabric headband made by folding and securing a necktie to a plain elastic or hard headband base, using the tie’s shape and fabric as the decorative element.
Supplies and Budget: Old necktie ($0 from closet or $1–3 thrift store), plain elastic headband ($2–4) or hard headband base ($3–5), needle and thread or hot glue gun ($3–5). Total: $5–$13
Quick How-To: Cut tie to desired length or use the pointed end as-is. Fold lengthwise and wrap or knot around headband base. Secure with a few hand stitches or hot glue at the back. Trim any excess fabric neatly.
DIY Tip: The pointed tip end of the tie makes the most beautiful bow shape naturally – position it at the front of the headband before securing so that tapered point shows and you don’t need to do any extra shaping.
2. Necktie Pillow Cover

A patchwork pillow made from necktie fabric is one of the most beautiful upcycling projects you can do with a collection of ties, and the end result looks genuinely high-end. You open up the ties, press the fabric flat, and sew the pieces together in strips to create a patchwork panel big enough to cover a pillow. The mix of patterns, textures, and colors from different ties creates this incredibly rich, layered look that you really can’t buy anywhere. It looks especially stunning in a home office or library setting where the menswear fabric feels intentional and sophisticated.
What It Is: A decorative pillow cover made by opening and pressing flat multiple neckties, then sewing the fabric pieces together in a patchwork pattern to create a pillow-sized panel.
Supplies and Budget: 6–10 old neckties ($0 or $1–3 each thrifted), pillow insert ($8–12), sewing machine or needle and thread, iron and ironing board. Total: $15–$45
Quick How-To: Open tie seams with a seam ripper, remove interfacing, press fabric flat. Cut into even strips or rectangles. Sew strips together into a patchwork panel. Back with coordinating fabric. Sew into envelope-style pillow cover. Insert pillow form.
DIY Tip: Iron each tie piece really well after opening it up – the fabric has been folded on the bias for years and pressing it thoroughly makes it so much easier to work with and gives cleaner seams when sewing.
3. Necktie Table Runner
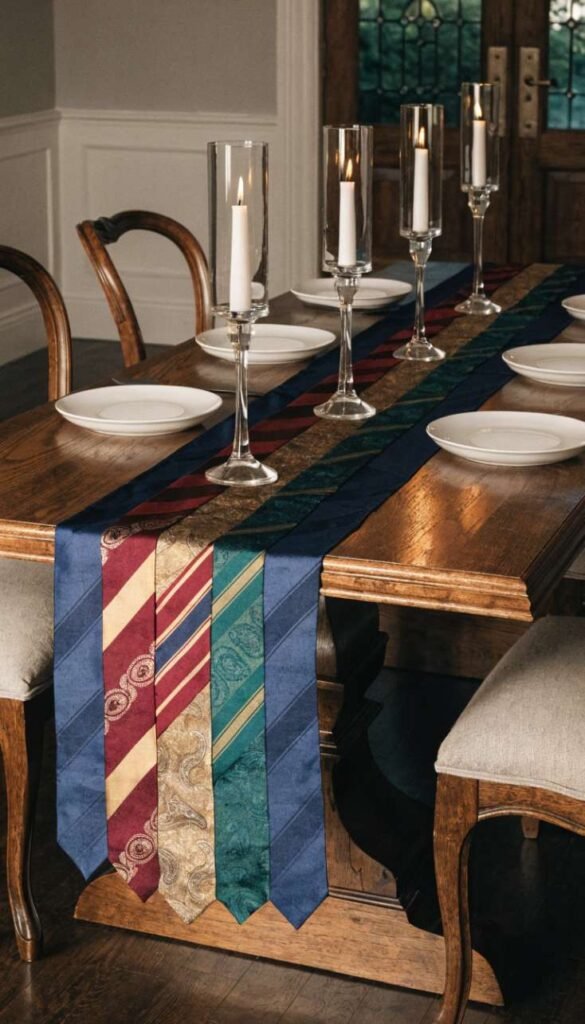
This one is so clever because the long narrow shape of a necktie is basically already a table runner – you just need enough of them sewn end to end or side by side to make the right length. Lay ties side by side in a color-coordinated arrangement and sew them together along the long edges, or sew them end to end for a narrower runner with the pointed tips creating a natural decorative finish at both ends. The result is a genuinely unique table runner that works beautifully for a masculine-themed party, Father’s Day dinner, or a home with an eclectic style.
What It Is: A decorative table runner made by sewing multiple neckties together either side by side or end to end to create a long narrow table covering with the ties’ pattern and texture as the design.
Supplies and Budget: 6–12 old neckties ($0 or $1–3 each), sewing machine, thread, iron. Total: $10–$40
Quick How-To: Lay ties out in your desired arrangement, alternating colors and patterns. Pin ties together along long edges and sew with a straight stitch. Press seams flat. Finish edges with a simple hem or leave the natural pointed ends as decorative finishing detail.
DIY Tip: Arrange your ties on the actual table before sewing anything to see how the colors and patterns work together – what looks good laid out flat on your floor can look completely different in the context of your actual table and dining room.
4. Necktie Dog Collar or Pet Bow Tie
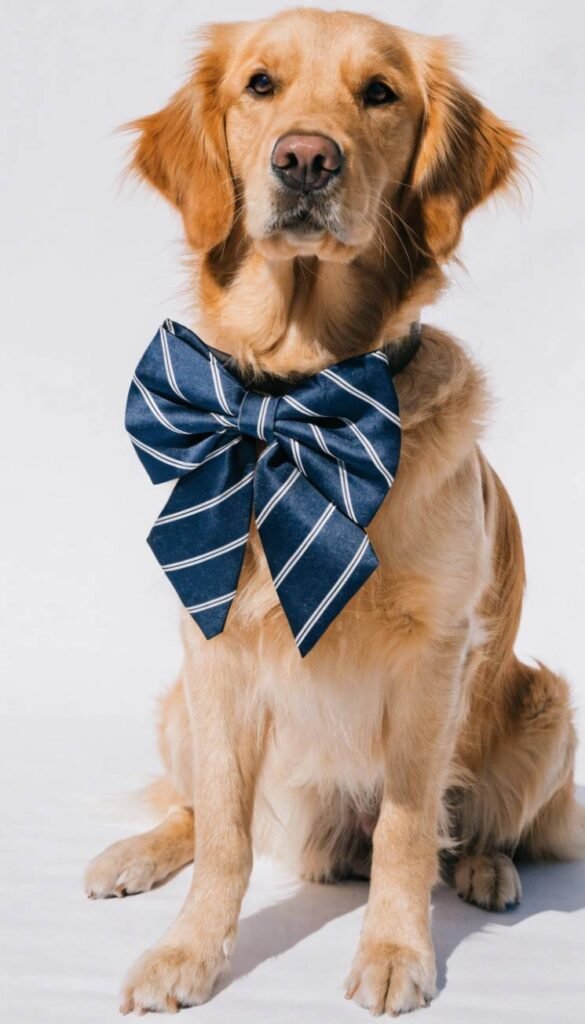
Pet owners are going to love this one because it might be the most adorable thing on this entire list. You can make a slip-on bow tie that attaches to your dog or cat’s existing collar using just the pointed end of a tie and a few stitches, or you can make an actual collar by using the tie as the collar material itself. Either way your pet ends up looking absolutely dapper and you spent maybe fifteen minutes making it. These make the best gifts for dog moms and the photos you get are worth the entire project on their own.
What It Is: A pet bow tie made from the pointed end of a necktie that slips onto an existing collar, or a full pet collar made using a necktie as the base material.
Supplies and Budget: One old necktie ($0 or $1–3), needle and thread or hot glue ($3), small elastic band for slip-on bow style ($1–2), scissors. Total: $4–$8
Quick How-To: For slip-on bow: cut the pointed end of the tie about 8 inches up. Pinch the center to form a bow shape. Wrap a small piece of tie fabric around the center and stitch. Thread a small elastic through the back loop and attach to collar.
DIY Tip: Size matters a lot with pet bow ties – a bow that looks proportional to a large dog will completely overwhelm a small cat. Cut your tie piece shorter and make a smaller bow for smaller pets so it looks balanced and not ridiculous.
5. Necktie Wallet or Clutch
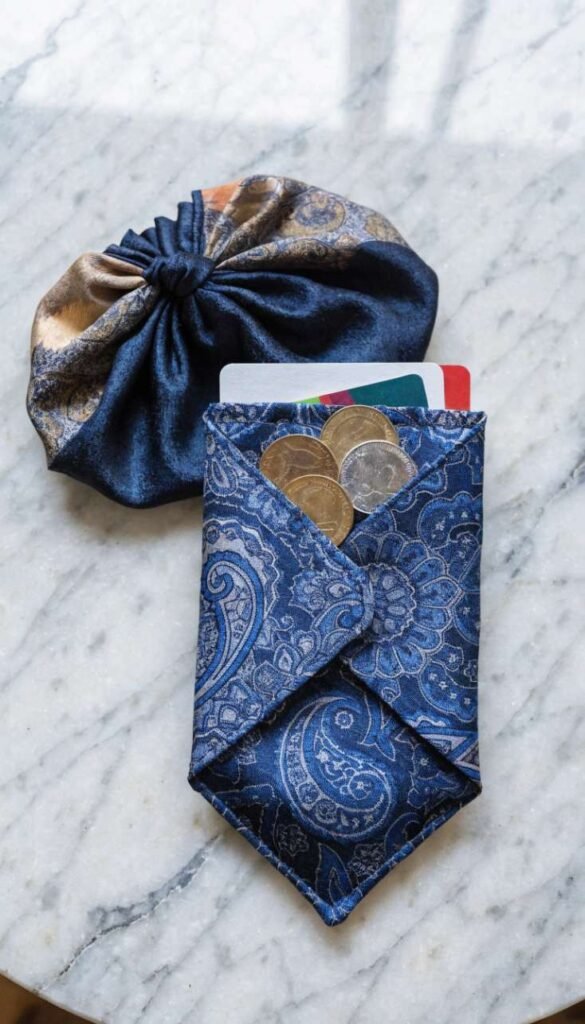
Using a tie to make a small wallet or clutch purse is one of the smartest repurposing ideas because the tie is already the perfect width for a slim wallet and the fabric is durable enough to hold up to daily use. You fold the tie back on itself, sew the sides, add a snap or zipper closure, and the inside of the tie becomes the lining. The pointed tip becomes a natural flap. Silk ties make elegant clutches, thicker woven ties make more casual everyday wallets. This is a project that looks genuinely purchased rather than homemade when it’s done well.
What It Is: A small wallet, card holder, or evening clutch made by folding a necktie back on itself and sewing the sides, using the tie’s shape and fabric for both the exterior and interior lining.
Supplies and Budget: One necktie ($0 or $1–3 thrifted), magnetic snap or small zipper ($3–5), sewing machine, thread, interfacing for structure ($3–4). Total: $6–$15
Quick How-To: Fold the tie back on itself to desired wallet size with pointed end as flap. Iron interfacing inside for structure if needed. Sew both side edges closed. Add magnetic snap closure under flap point. Trim interior and press flat.
DIY Tip: Add iron-on interfacing to the inside of the tie before sewing the wallet – without it the fabric is too floppy and the wallet won’t hold its shape or feel sturdy enough to actually use every day.
6. Framed Necktie Memory Art
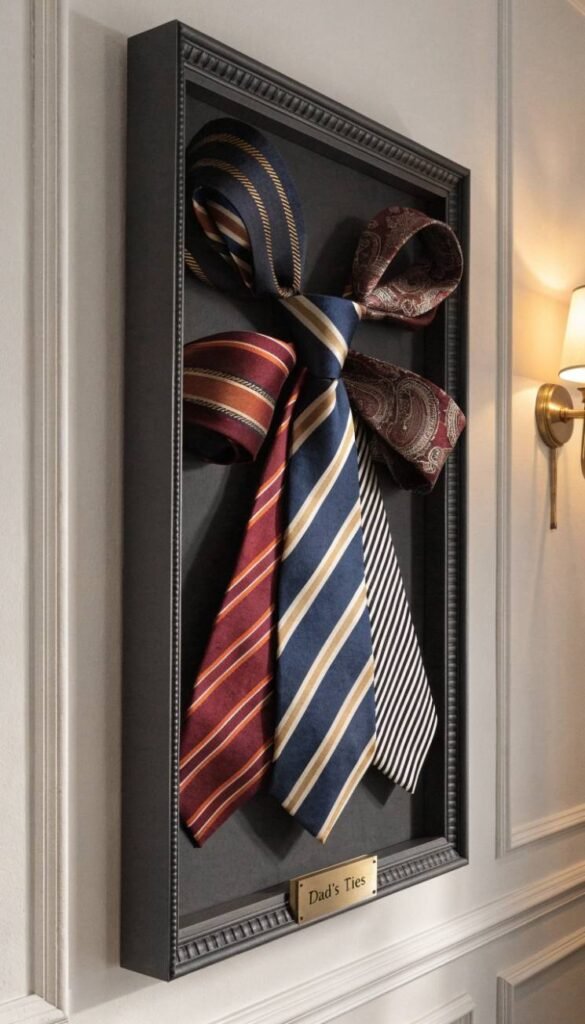
This is the project for when someone you love has passed away and left behind a collection of their ties. You arrange the ties – or sections of the ties – in a meaningful pattern inside a shadow box or deep frame, and the result is a piece of wall art that preserves the memory of that person in something beautiful and displayable. Even outside of memorial purposes, a framed arrangement of vintage ties in coordinating colors looks like intentional textile art. This is emotional and meaningful in a way that most craft projects aren’t, and people absolutely treasure these.
What It Is: A framed shadow box or deep frame filled with arranged neckties or tie sections, displayed as wall art – used as memorial keepsakes or simply as decorative textile art.
Supplies and Budget: Shadow box frame ($15–30), old neckties ($0 or thrifted), straight pins or fabric glue, scissors, optional backing fabric ($5–8). Total: $20–$45
Quick How-To: Choose a shadow box with enough depth for the tie layers. Cover the backing board with neutral fabric if desired. Arrange ties in a fan, parallel lines, or pattern. Pin or glue in place. Add a small label or name plate if making as memorial. Frame and hang.
DIY Tip: Photograph the arrangement on your phone before you glue or pin anything permanently – it’s really easy to think you’re happy with the layout and then realize something is off once it’s inside the frame and harder to adjust.
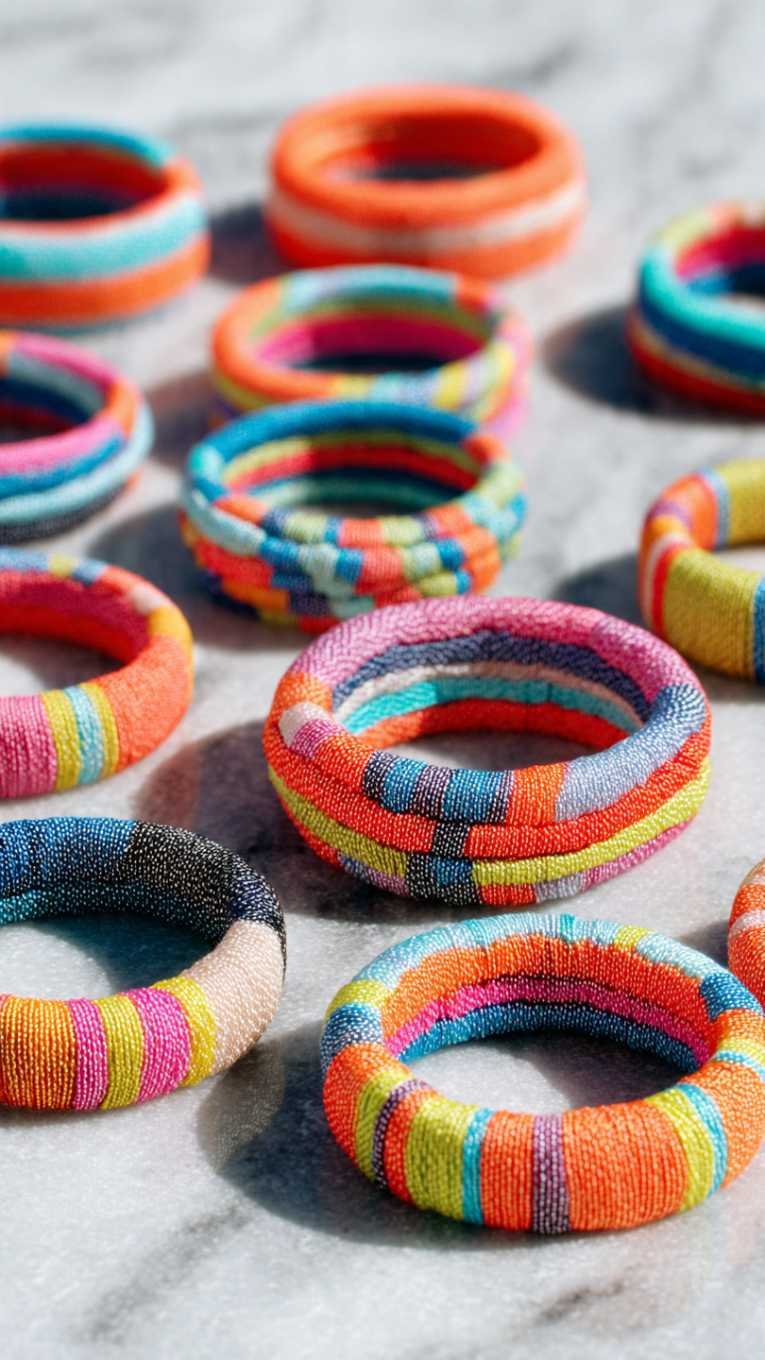
7. Necktie Wristband or Bracelet
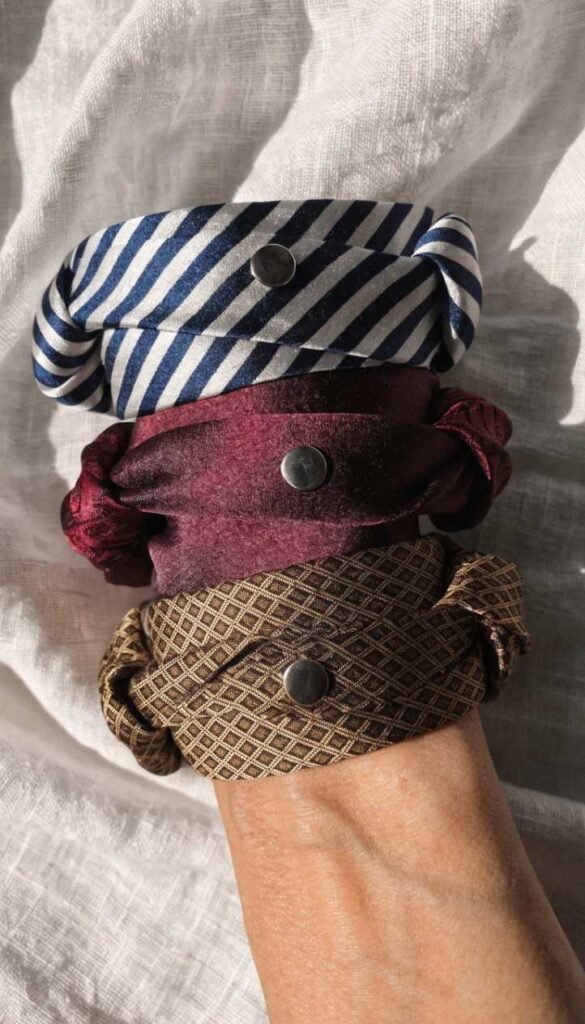
The narrow end of a necktie is already basically the right width for a wristband, and this is one of those projects that takes about ten minutes and looks intentionally boho and stylish. You cut a section of the tie at the narrow end, fold the raw edge under, and wrap it around your wrist to secure with a snap, button, or tie it in a simple knot. Silk ties make elegant bracelets, patterned ties make fun statement pieces. Stack a few in coordinating colors and they look like something from an expensive accessories boutique.
What It Is: Wristband bracelets cut from the narrow end of neckties, finished with a simple snap, button, or knot closure for a fabric cuff accessory.
Supplies and Budget: One old necktie ($0 or $1–3), snap fasteners ($3) or small button ($1), needle and thread, scissors. Total: $4–$7
Quick How-To: Cut the narrow end of the tie to wrist circumference plus 2 inches. Fold raw cut end under and hand stitch closed. Attach a snap or button and loop closure at each end. Press flat with an iron for a clean finish.
DIY Tip: Use the very narrow tip end of the tie for the most refined looking bracelet – the tapering of the tip adds natural visual interest at the wrist and you don’t need any additional decorative detail.
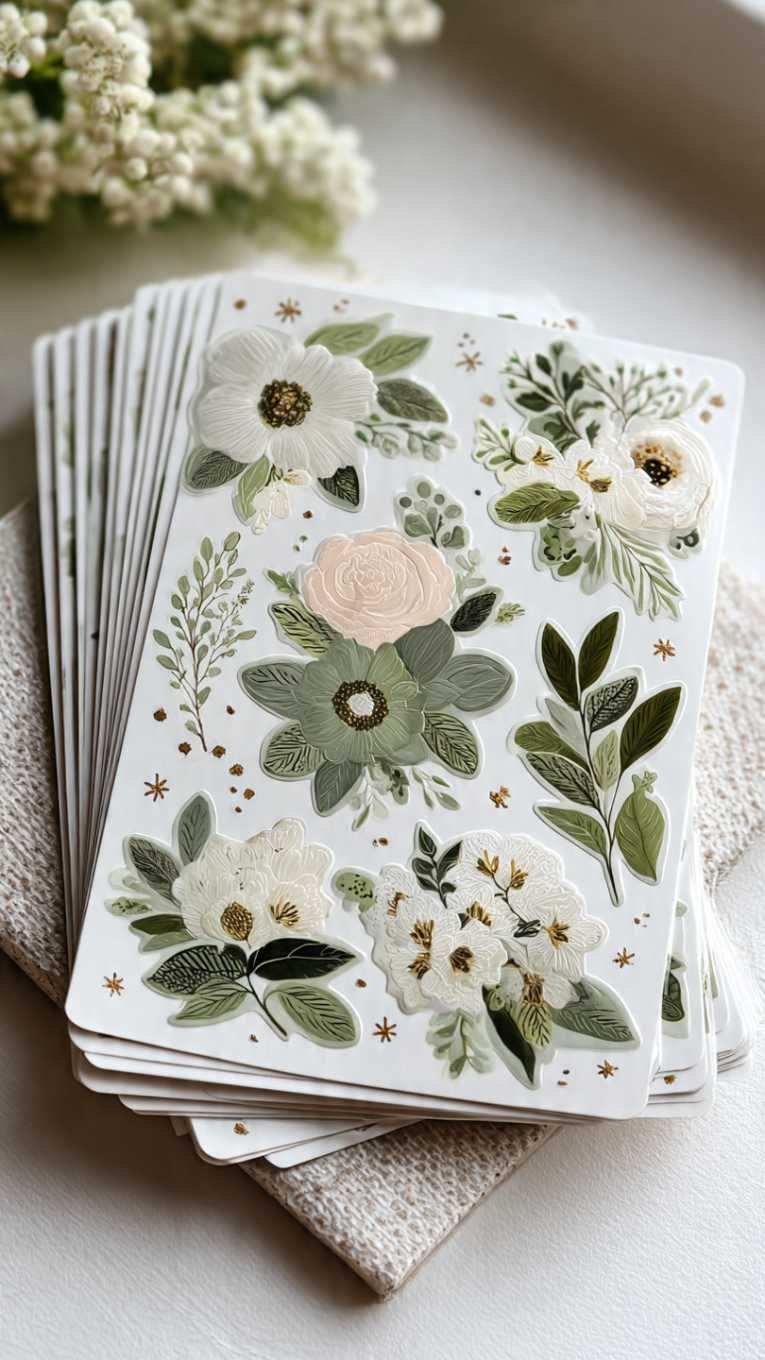
8. Necktie Bookmarks
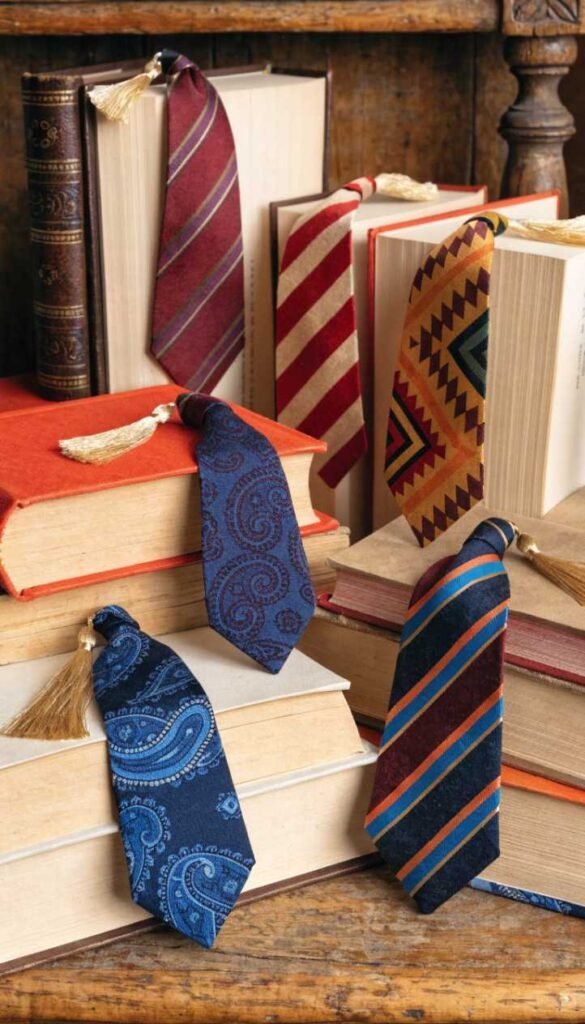
This idea is so simple it almost feels like cheating but the result is so charming that it completely earns its place on this list. The pointed end of a necktie is literally the perfect bookmark shape – it’s the right width, it has a beautiful finished point, and the fabric is substantial enough to hold up to regular use. You just cut the pointed end to your desired bookmark length, finish the cut edge with a simple hem or fold and glue, and that’s it. These are the best bookmarks you’ve ever used and people are always delighted when you give them as gifts with a book.
What It Is: Bookmarks cut from the pointed end of a necktie, using the tie’s natural tapered shape and finished tip as the bookmark design.
Supplies and Budget: One old necktie ($0 or $1–3 thrifted), fabric glue or needle and thread ($2–3), optional tassel or charm ($3–4). Total: $2–$10
Quick How-To: Cut the pointed end of the tie approximately 8–10 inches from the tip. Fold the raw cut end under about half an inch and secure with fabric glue or a few hand stitches. Optional: add a tassel or decorative charm at the pointed end. Press flat.
DIY Tip: Make a batch of these at once from different ties and package them in sets of three with a rubber band and a small gift tag – they make the most thoughtful inexpensive gift for any book lover and cost you almost nothing.
9. Necktie Guitar or Bag Strap
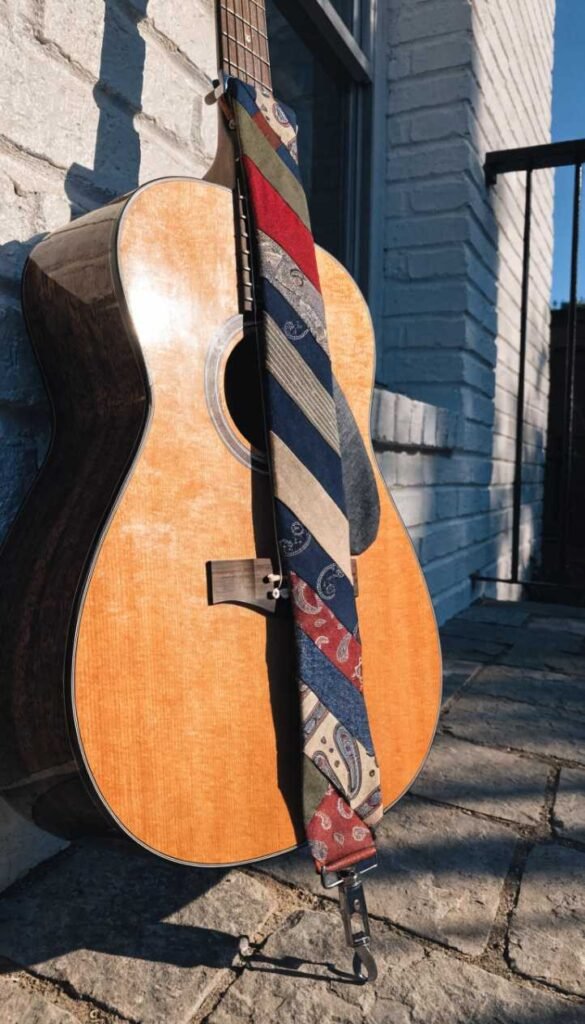
This one is for the crafters who want to make something functional and a little bit unexpected. Multiple neckties sewn end to end and reinforced with a sturdy backing fabric or webbing create the most unique guitar strap or bag strap you’ve ever seen. The mix of tie patterns creates a patchwork effect that looks very boho and artisan, and because you’re reinforcing with webbing underneath the tie fabric, it’s actually strong enough to hold the weight of a guitar or bag. This is a great project for musicians or anyone who carries a tote bag and wants something with more personality.
What It Is: A functional guitar strap or bag strap made by sewing neckties end to end over a sturdy webbing base for strength, creating a patchwork patterned strap.
Supplies and Budget: 4–6 old neckties ($0 or $1–3 each), nylon or cotton webbing ($4–6), sewing machine, thread, strap hardware clips ($4–6). Total: $12–$30
Quick How-To: Cut webbing to desired strap length. Lay ties end to end over webbing and sew down along both edges, covering the webbing completely. Attach strap hardware clips at each end by folding and stitching securely. Reinforce end stitching multiple times for strength.
DIY Tip: Sew each tie section down the center first as a stabilizing line before stitching the edges – this keeps the tie fabric from shifting or bunching while you’re running it through the sewing machine and gives you cleaner results.
10. Necktie Wreath

A wreath made from neckties is one of those decorations that looks seriously impressive on a front door or wall and is genuinely one of the easiest things you’ll ever make. You take a foam or wire wreath form, cut ties into strips or loops, and tie or wrap them around the form until it’s completely covered. You can do it all in one color family for something elegant, or use a mix of patterns for something more eclectic and fun. The fabric texture and the varied patterns of the ties create this really rich, layered look that looks nothing like what you’d find in a store.
What It Is: A decorative wreath made by wrapping and tying strips or loops of necktie fabric around a foam or wire wreath form until fully covered.
Supplies and Budget: Foam or wire wreath form ($5–8), 6–10 old neckties ($0 or $1–3 each), scissors, hot glue gun ($5 if you don’t own one). Total: $15–$40
Quick How-To: Cut ties into 6–8 inch strips. Fold each strip in half and loop it onto the wreath form with a simple lark’s head knot, pushing loops close together. Continue until form is completely covered. Fluff and arrange fabric. Add a ribbon hanger at the back.
DIY Tip: Mix tie widths in your wreath – using both wide and narrow ties creates more texture and visual interest than using all the same width, and it helps fill in the wreath form more efficiently without needing as many ties.