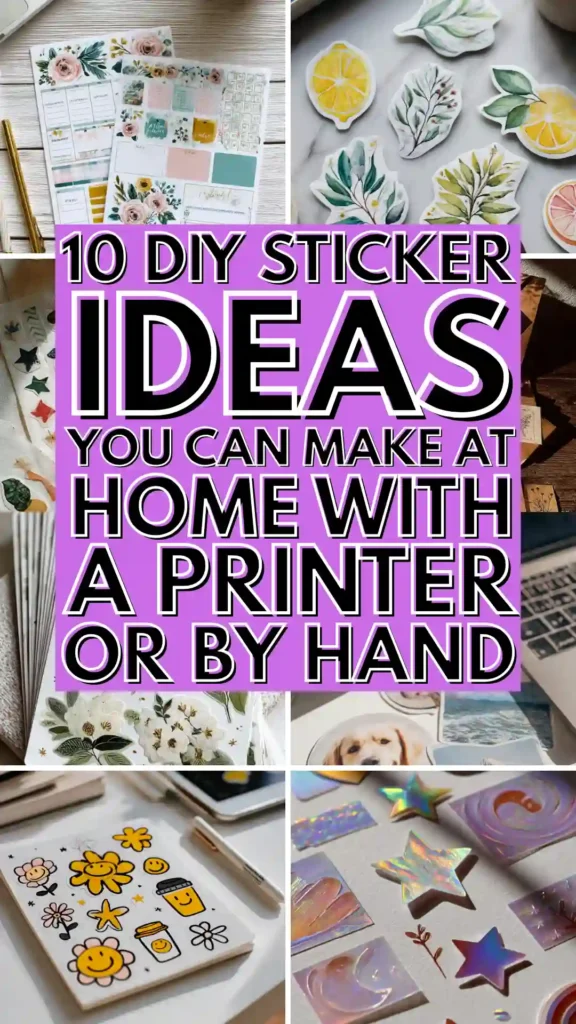
I got into making my own stickers completely by accident. I was trying to find a specific sticker for my planner – just a simple little floral design in exactly the right colors to match my whole setup – and I couldn’t find it anywhere. Everything was either the wrong color, the wrong size, or part of a pack where I only wanted two out of the thirty stickers included. And then someone in a planner group I’m in casually mentioned that she just makes her own, and I thought she must have some fancy equipment to do that. She did not. She had a regular inkjet printer and some sticker paper from Amazon.
That was it for me. I ordered sticker paper that same night and spent the entire following weekend making stickers, and honestly it changed my whole crafting life. Making your own stickers is one of those things that sounds more complicated than it actually is, and once you figure out the basics you just keep coming up with new things to make. Stickers for your planner, stickers for your water bottle, stickers to give away as gifts, stickers to sell – the possibilities genuinely don’t stop.
What I love most about DIY stickers is that you get exactly what you want every single time. The right colors, the right size, the right design. No more buying a whole sheet and using three of them. No more settling for something that’s almost what you wanted. You design it, you print it, you use it. And the supplies are so affordable that the cost per sticker ends up being practically nothing compared to buying them.
You don’t need a Cricut, you don’t need a fancy printer, and you don’t need to know how to draw. Some of the best sticker ideas on this list require zero artistic skill and zero special equipment. Just a printer, some sticker paper, and a pair of scissors.
1. Printed Planner Stickers
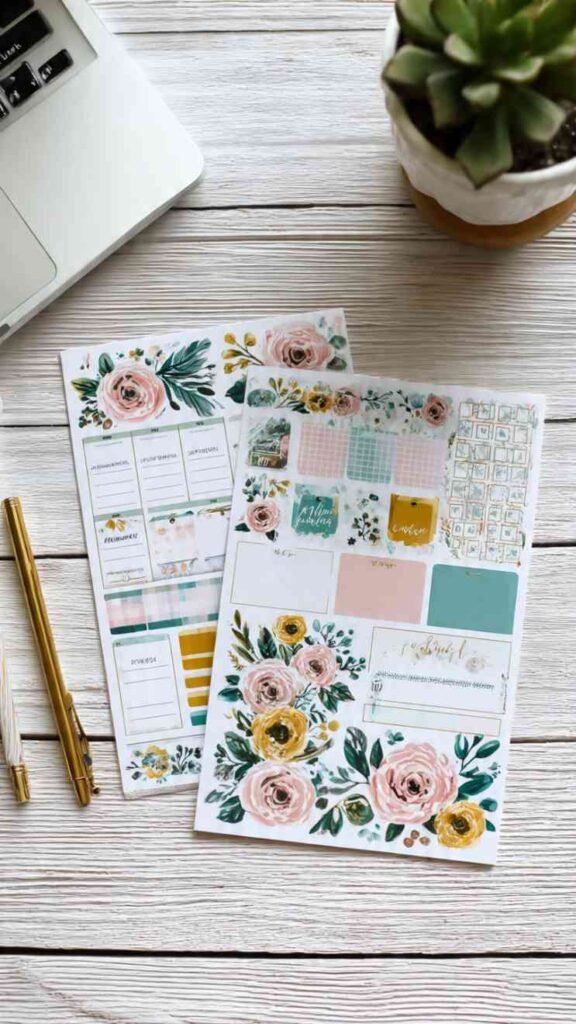
Planner stickers are probably the most popular DIY sticker category and for good reason – the ones you buy are expensive, you run out of your favorites constantly, and you can never find exactly the size that fits your specific planner layout. When you make your own you can size them perfectly to your pages, design them in your exact color palette, and print as many as you need whenever you need them. You don’t need to be a designer either – there are free templates on Canva that you just customize with your own colors and text and print straight onto sticker paper.
What It Is: Custom-designed functional planner stickers printed at home on sticker paper, including labels, date covers, habit trackers, appointment boxes, and decorative elements sized to fit your specific planner.
Supplies and Budget: Printable sticker paper ($8–12 for 25 sheets), inkjet or laser printer (use what you have), scissors or craft punch ($3–8), Canva free account ($0). Total: $11–$20
Quick How-To: Open Canva, search “planner stickers” templates. Customize colors, fonts, and text to your style. Size to fit your planner measurements. Print on sticker paper using best quality setting. Cut out with scissors or paper punches.
DIY Tip: Print a test page on regular paper first before using your sticker paper – sticker paper is too expensive to waste on a print that turns out the wrong size or with colors that look different from your screen.
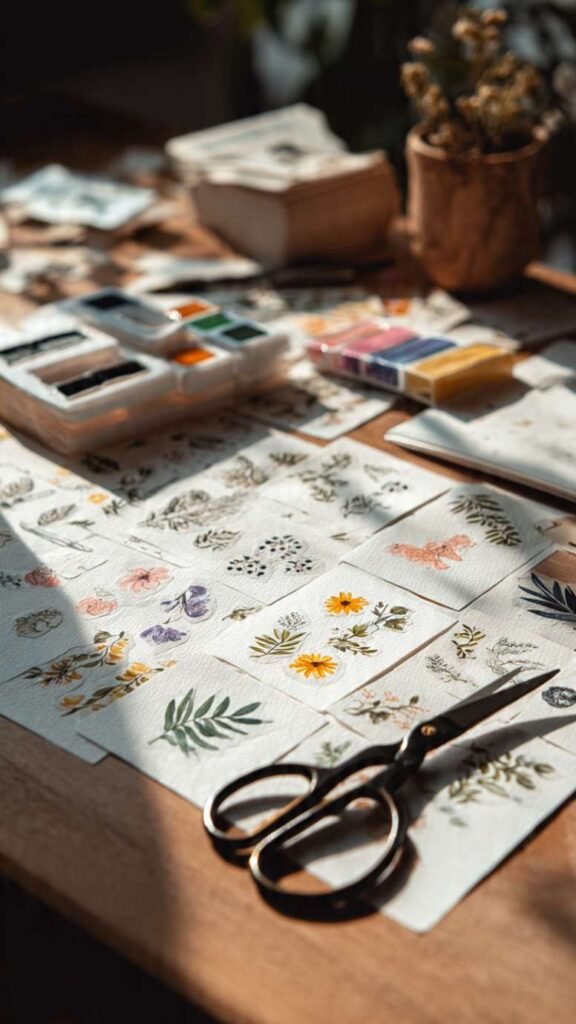
2. Hand-Drawn Watercolor Stickers

If you have even the most basic watercolor skills – and I mean truly basic, like blobs of color basic – you can make the most beautiful watercolor stickers. You paint small designs on watercolor paper, let them dry, cut them out, and stick double-sided tape or a self-adhesive sheet to the back. That’s literally the whole process. The watercolor look is so popular right now and handmade watercolor stickers have this organic charm that printed ones just can’t replicate. Flowers, abstract shapes, little fruit slices, simple animals – anything works.
What It Is: Hand-painted watercolor designs cut from watercolor paper and backed with double-sided adhesive to create unique one-of-a-kind stickers with an organic painted look.
Supplies and Budget: Watercolor paper ($6–10), watercolor paints ($8–15), brushes, double-sided adhesive sheets or tape ($5–8), scissors. Total: $19–$33
Quick How-To: Paint small designs on watercolor paper and let dry completely. Cut out around each design leaving a small white border. Cut a matching piece of double-sided adhesive sheet, stick to the back of each sticker. Peel backing to use.
DIY Tip: Leave a thin white border around your watercolor designs when you cut them out – it makes each sticker look more polished and finished, like a proper die-cut sticker rather than just a painted cutout.
3. Holographic Stickers at Home
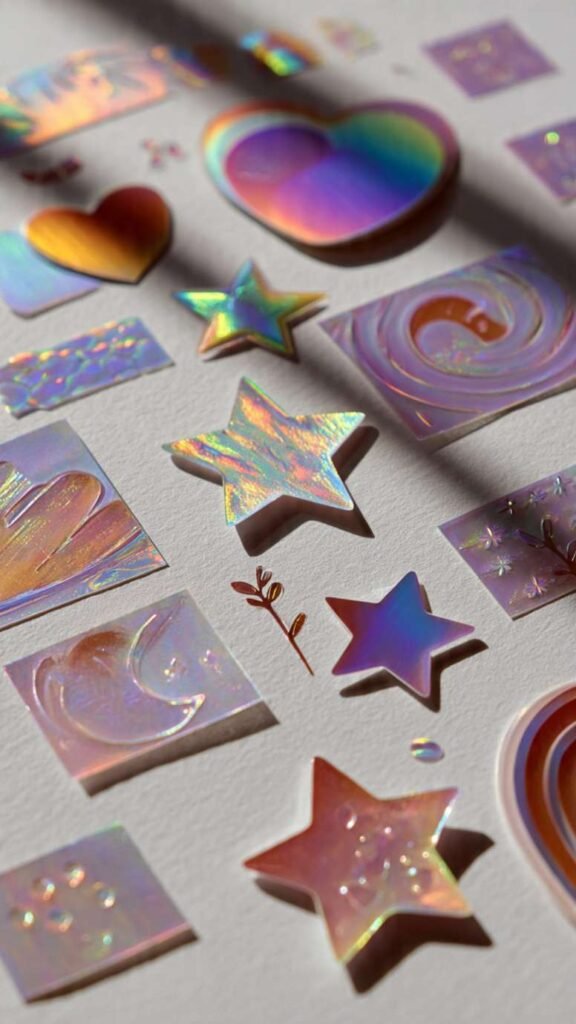
Holographic stickers look so professional and expensive and people are always shocked when you tell them you made them at home. The secret is holographic sticker paper – you print your design on it just like regular sticker paper and the holographic surface makes every design look like it came from a professional sticker shop. Simple designs actually work better than complicated ones on holographic paper because the rainbow shimmer effect is already doing a lot of visual work. Bold outlines, simple shapes, minimal color fills – these translate really well to the holographic surface.
What It Is: Printed stickers made on holographic or iridescent sticker paper that gives designs a rainbow shimmer effect, making simple printed designs look professional and eye-catching.
Supplies and Budget: Holographic printable sticker paper ($10–16 for 10 sheets), inkjet printer, scissors or Cricut ($3–8 for scissors). Total: $13–$24
Quick How-To: Design simple bold shapes in Canva or Procreate – thick outlines and minimal detail work best. Print on holographic sticker paper using highest quality setting. Let ink dry fully for at least 10 minutes before cutting. Cut out and apply laminate layer for durability if desired.
DIY Tip: Let holographic sticker prints dry longer than you think they need to – the holographic surface is less absorbent than regular sticker paper and the ink takes longer to fully set, so cutting too soon smears the edges.
4. Washi Tape Stickers
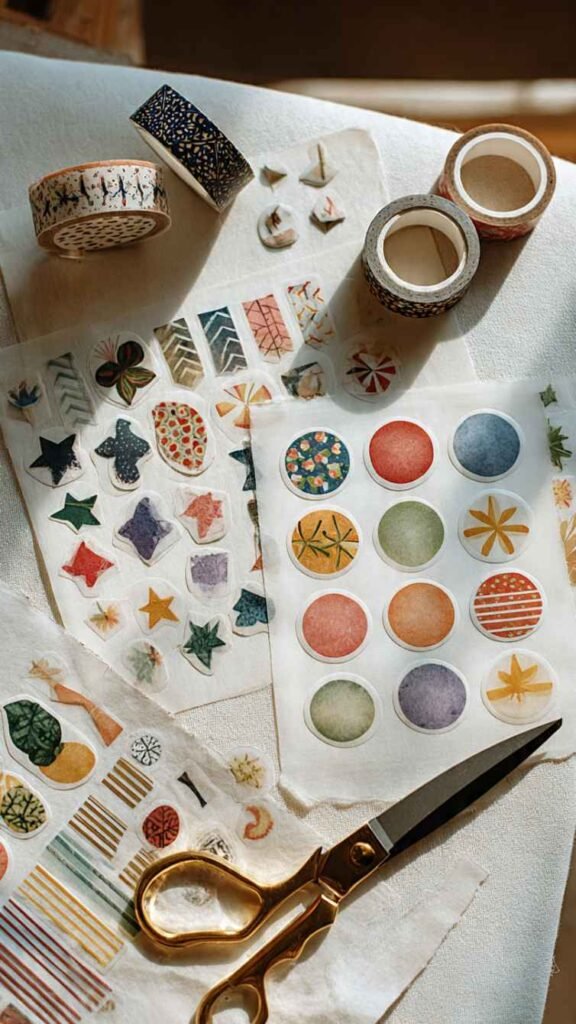
This idea is so clever because you’re using washi tape you already own to make stickers and the results are these pretty little decorative pieces that work perfectly in planners, journals, and on packages. You lay strips of washi tape onto parchment paper, overlapping slightly, build up a little panel, and then cut shapes from it. The parchment paper acts as a backing so they peel off and stick just like a regular sticker. The combination of different washi tape patterns creates these unique designs and every single one turns out different depending on which tapes you layer.
What It Is: DIY stickers made by layering strips of washi tape onto parchment paper backing and cutting into shapes – the tape itself provides the color, pattern, and adhesive.
Supplies and Budget: Washi tape collection (use what you have or $5–10 for new rolls), parchment paper ($3–5), scissors or craft punches ($3–8). Total: $6–$23
Quick How-To: Lay strips of washi tape side by side or overlapping on parchment paper. Smooth down firmly. Use scissors or shaped punches to cut out sticker shapes directly from the tape panel. Peel parchment backing slightly to use each sticker.
DIY Tip: Use a circular or shaped craft punch for cutting your washi stickers – it gives you perfectly uniform shapes every time and is much faster than scissors, especially if you’re making a big batch for a planner kit.
5. Laminated Photo Stickers
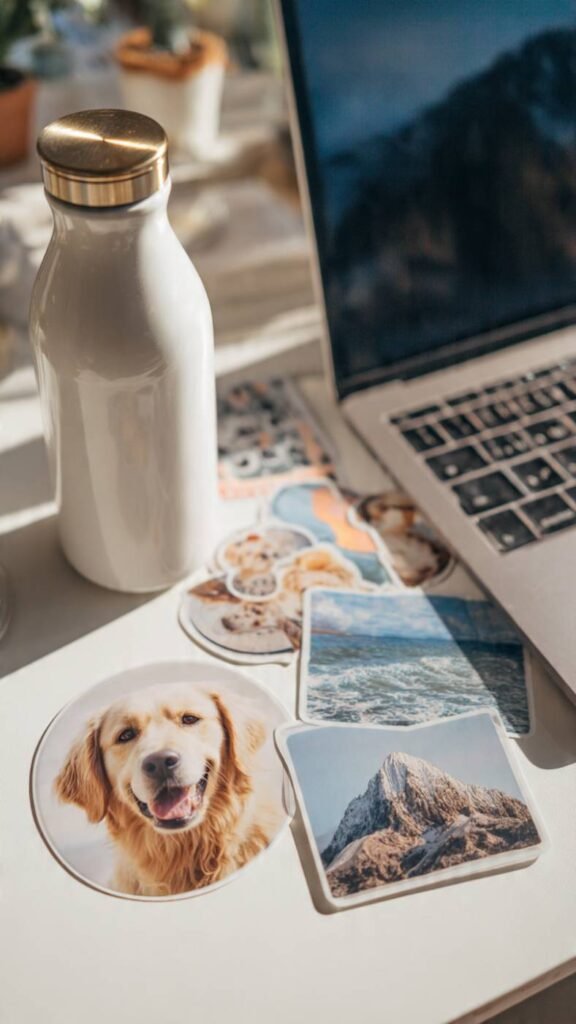
Turning your own photos into stickers is one of those ideas that’s both practical and genuinely sentimental. You print photos – your pet, your kids, your favorite travel shots, aesthetic flat lays – on sticker paper, cut them out, and laminate them for durability. Pet face stickers are the biggest trend right now and they are so fun. Cut out your dog’s face in a circle, stick it on your water bottle, and you’ve made something that makes you smile every time you look at it. These also make amazing personalized gifts for family members.
What It Is: Personal photos printed on sticker paper, cut out into shapes, and optionally laminated for durability to create custom photo stickers of pets, people, places, or anything you love.
Supplies and Budget: Printable sticker paper ($8–12), home printer, laminating sheets or sticker laminate rolls ($6–10), scissors. Total: $14–$22
Quick How-To: Edit your photo on your phone to your liking. Insert into a Canva document sized for printing. Print on sticker paper. Let dry. Apply clear laminate layer on top. Cut out around the subject or into a circle or square shape.
DIY Tip: Increase the contrast and saturation of your photo slightly before printing – home printers tend to print photos a little duller than they look on screen, so bumping those settings up a touch gives you a more vibrant finished sticker.
6. Procreate or Digital Drawing Stickers
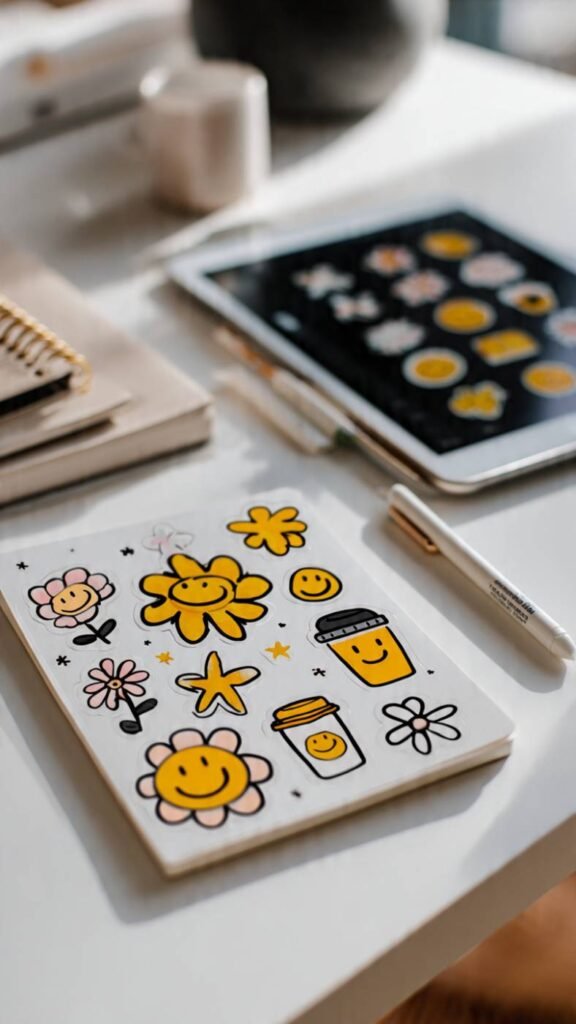
If you have an iPad with Procreate or even just use free drawing apps on your phone or computer, designing your own digital stickers and printing them is incredibly satisfying. You draw exactly what you want, color it exactly how you want, export the file, and print onto sticker paper. The quality of home-printed digital art stickers is genuinely impressive and this is how a lot of small sticker businesses actually start. You don’t need to be a professional illustrator – simple doodle-style drawings with bold outlines and flat colors print beautifully.
What It Is: Custom stickers designed in a digital drawing app like Procreate, Adobe Fresco, or Canva, then printed onto sticker paper at home for completely original hand-illustrated sticker designs.
Supplies and Budget: iPad and Procreate ($10 one-time app cost) or free app, printable sticker paper ($8–12), printer, scissors or Cricut. Total: $18–$22 plus device
Quick How-To: Draw designs in Procreate with a white background or transparent background. Export as PNG. Place in Canva print document, arrange multiple designs per sheet. Print on sticker paper. Cut out and optionally laminate.
DIY Tip: Draw with a thick black outline around all your designs before printing – outlines make cutting much easier because you have a clear line to follow, and they make the stickers look more polished and intentional on whatever surface you stick them to.
7. Clear Vinyl Stickers
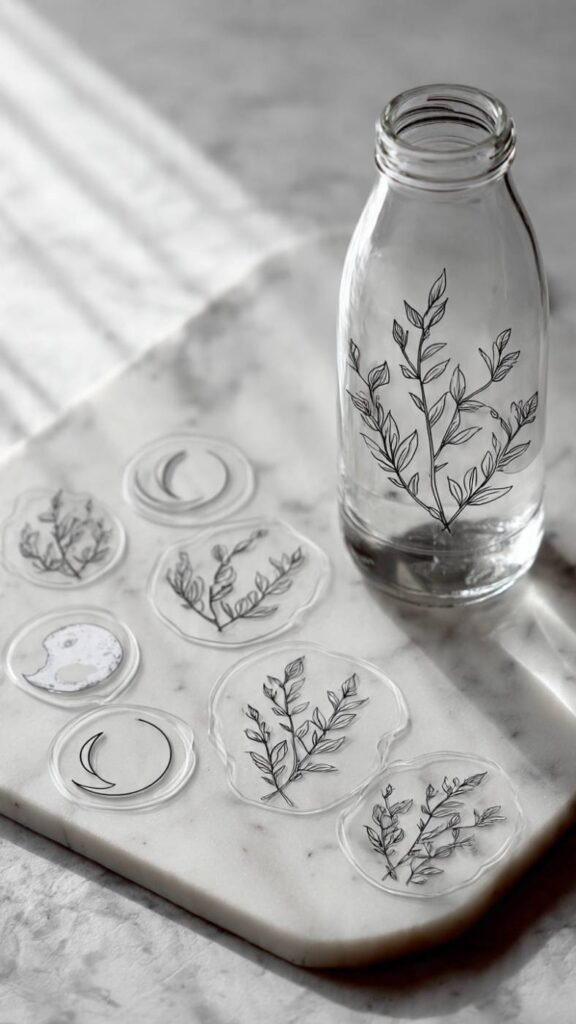
Clear stickers are having a moment right now because they have this really sleek minimal look where only the design is visible and the background disappears completely. They look incredible on water bottles, phone cases, windows, and laptops because the surface behind them shows through. You make them exactly the same way as regular stickers but print on clear inkjet sticker paper instead of white. The trick is designing with no background and using bold colors or black outlines so the design reads clearly against whatever surface it’s on.
What It Is: Transparent stickers printed on clear inkjet sticker paper where only the design is visible and the background of the sticker disappears, creating a clean window-decal style effect.
Supplies and Budget: Clear printable sticker paper ($10–15 for 10 sheets), inkjet printer, scissors, clear laminate sheets ($6–8) for waterproofing. Total: $16–$23
Quick How-To: Design with a completely transparent or white background in Canva – white will disappear on the clear paper. Print on clear sticker paper at highest quality. Let dry 15 minutes. Apply clear laminate layer. Cut out designs carefully.
DIY Tip: Always add a clear laminate layer over clear stickers before cutting – without it the ink on clear paper scratches and rubs off very easily since there’s no white paper layer underneath to absorb and protect the ink properly.
8. Kraft Paper Rustic Stickers
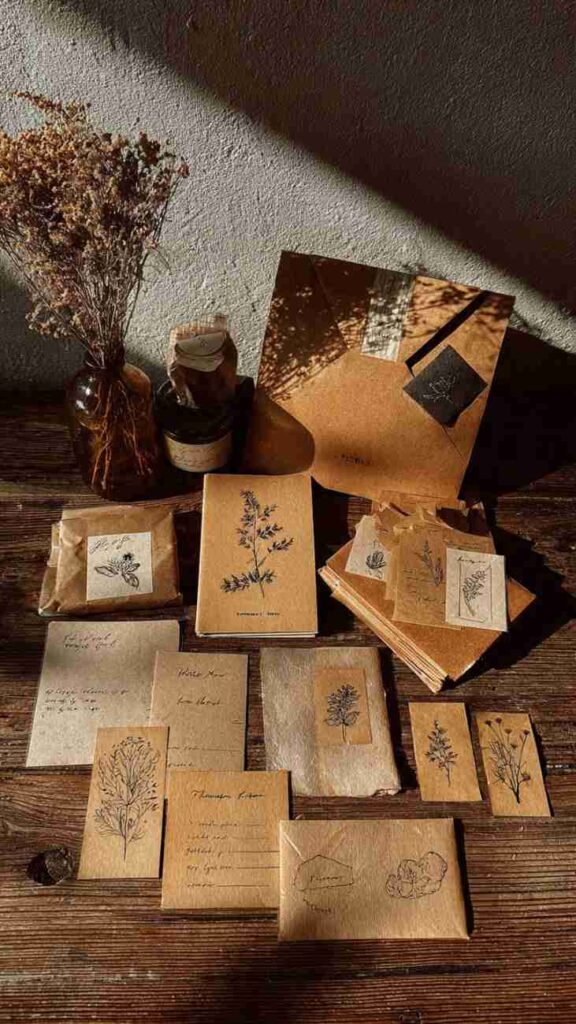
Kraft paper stickers have this beautiful warm vintage look that works so well for packaging, journaling, gifting, and anything with a natural or rustic aesthetic. You print designs onto kraft sticker paper – or make your own by putting kraft paper through your printer – and the warm brown paper tone gives everything a naturally vintage feel. Simple botanical line drawings, handwriting-style fonts, and minimal designs look especially beautiful on kraft. These are perfect if you sell anything handmade and want packaging that looks thoughtful and professional without spending a lot.
What It Is: Stickers printed on kraft brown paper with a self-adhesive backing, giving designs a warm vintage or natural aesthetic that works beautifully for packaging, journaling, and gifting.
Supplies and Budget: Kraft printable sticker paper ($8–14), inkjet printer, scissors, black ink designs work best. Total: $8–$14
Quick How-To: Design in black ink or dark brown tones in Canva – colorful designs work too but simpler designs really shine on kraft. Print on kraft sticker paper. Let dry fully. Cut out with scissors or a paper trimmer for clean straight edges.
DIY Tip: Stick to black, dark brown, and deep green ink colors when designing for kraft paper – light colors and pastels disappear against the brown background and won’t show up in your printed stickers the way they look on your screen.
9. Sticker Sheets to Sell or Gift
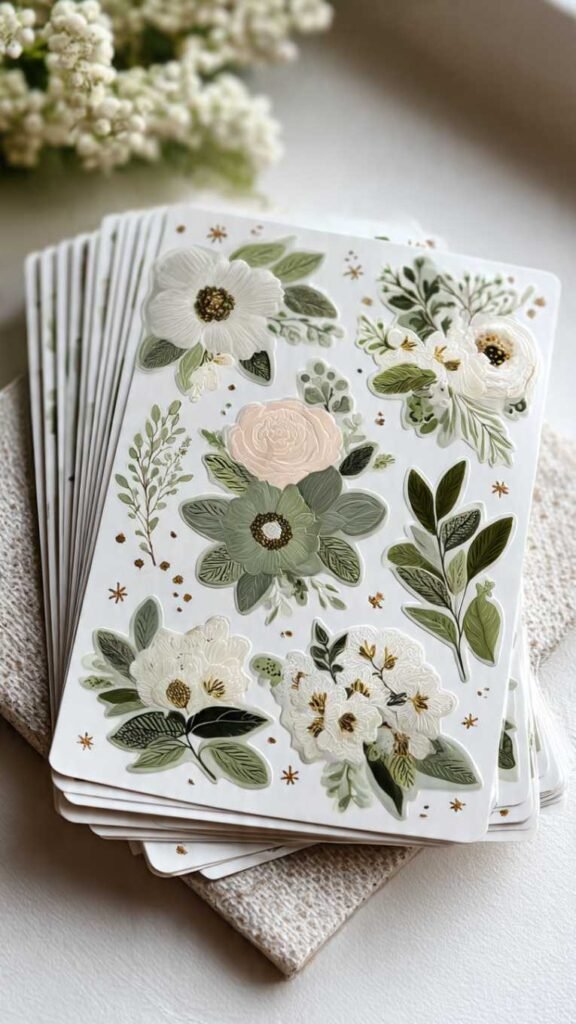
Making complete coordinated sticker sheets – where all the designs work together as a set – is the next level of DIY stickers and it’s where a lot of people go from hobby to actual small business. You design a collection of related elements in a cohesive color palette, arrange them neatly on a sheet, print, and either keep them as gift sets or sell them. A good sticker sheet has a mix of sizes and shapes, some decorative elements, some functional pieces, and everything coordinates. These look so professional when done well and people genuinely love receiving them as gifts.
What It Is: A full coordinated sheet of multiple sticker designs in a cohesive color palette and theme, designed to work together as a set for planners, journaling, gifting, or selling.
Supplies and Budget: Printable sticker paper ($8–12), printer, scissors or Cricut for precise cuts ($3–8 scissors), Canva free account ($0). Total: $11–$20
Quick How-To: Choose a theme and color palette. Design 10–20 coordinating elements in Canva at various sizes. Arrange on a letter-size sheet leaving small gaps between each sticker. Print on sticker paper. Cut into individual stickers or sell as full sheet.
DIY Tip: Design your sticker sheets with a mix of sizes – a few large statement stickers, several medium ones, and a bunch of tiny accent pieces. This variety makes the sheet feel complete and gives people different options for how to use them.
10. No-Print Hand-Stamped Stickers
This one is for anyone who doesn’t want to deal with printers at all. You use rubber stamps and ink pads to stamp designs directly onto blank sticker paper, color them in with markers if you want, and cut them out. The slightly imperfect hand-stamped look is genuinely charming and has that handmade quality that people really respond to. Floral stamps, word stamps, geometric shapes – whatever stamps you already have work great. You can build a huge collection of stickers for almost no money and every single one has that personal handmade touch.
What It Is: Hand-stamped stickers made by pressing rubber or foam stamps onto blank sticker paper sheets, optionally colored with markers, and cut out by hand for a completely no-tech sticker making process.
Supplies and Budget: Blank sticker paper ($8–12), rubber or foam stamps ($5–15 or use what you have), ink pads in various colors ($5–10), markers for coloring ($5–8), scissors. Total: $23–$45
Quick How-To: Press stamp firmly and evenly onto ink pad. Stamp onto blank sticker paper with one confident press – don’t rock or slide the stamp. Let ink dry for a minute. Color in stamped designs with markers if desired. Cut out finished stickers.
DIY Tip: Store your completed hand-stamped sticker sheets flat in a folder or between parchment paper – the ink on sticker paper can transfer to other surfaces if sheets are stacked directly on top of each other before the ink is fully cured.