I got into making my own lip gloss completely by accident. I was looking at the ingredient list on a tube I’d been using for years and realized I genuinely could not pronounce half of what was in there. Then I looked up what some of those ingredients actually were and decided I wanted to know exactly what I was putting on my lips every single day. So I started researching homemade lip gloss and fell completely down a rabbit hole that I have zero regrets about.
The thing that surprised me most is how simple the base ingredients actually are. Most lip glosses are just some combination of a carrier oil, a thickener like beeswax or shea butter, and whatever you want to add for color, flavor, and shine. That’s really it. The fancy packaging and the brand name are what you’re paying for when you buy commercial gloss, not some complicated formula that’s impossible to recreate at home.
What I love about making my own is the customization. You want a really thick gloss that stays put? Add more wax. You want something super shiny and lightweight? Go heavier on the oils. You want a specific pink that doesn’t exist in any shade you’ve ever found in a store? Mix your own. You’re completely in control of the texture, the color, the scent, the flavor, and the ingredients, which feels really good especially if you have sensitive lips or you’re trying to avoid certain chemicals.
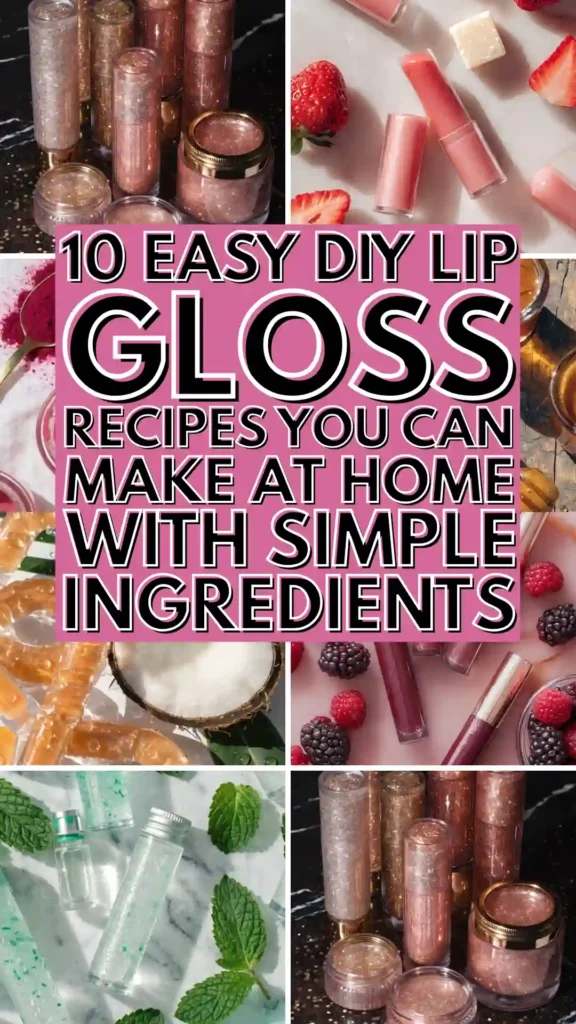
These ten recipes go from the absolute simplest two-ingredient gloss all the way to more polished formulas with real pigment and serious shine. Most of them cost just a few dollars to make and yield multiple tubes, so you end up with enough to keep some for yourself and give some away. Once you start making your own lip gloss, buying it from a store honestly feels kind of unnecessary.
1. Classic Clear Shine Gloss
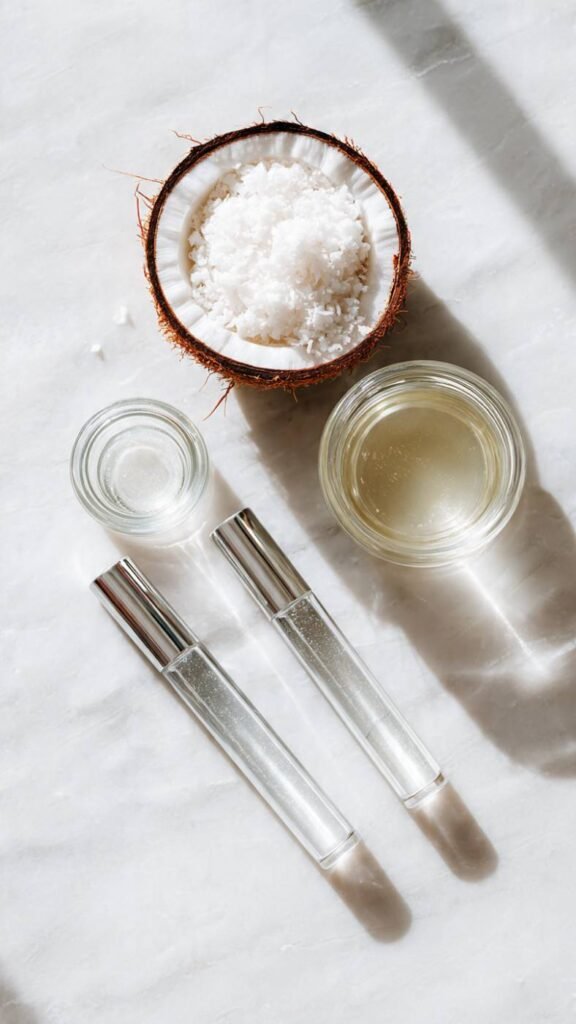
This is the one you start with because it teaches you the basic technique and you end up with a genuinely beautiful, wearable gloss at the end. The formula is simple – just a combination of castor oil for that thick glossy texture, a little coconut oil for moisture, and a tiny amount of beeswax to give it some body so it doesn’t slide right off your lips. Clear gloss is universally flattering, works over any lipstick, and is just something everyone reaches for constantly. Once you nail this base recipe you can add color or flavor to it anytime.
What It Is: A simple clear lip gloss made from castor oil, coconut oil, and a small amount of beeswax for a shiny, moisturizing everyday gloss with no added color or fragrance.
Supplies and Budget: Castor oil ($6–8), coconut oil ($5–7), beeswax pellets ($6–8), small lip gloss tubes or pots ($5 for a pack), double boiler or microwave-safe bowl. Total: $22–$28 makes 8–10 tubes
Quick How-To: Melt 1 tablespoon beeswax with 2 tablespoons castor oil and 1 tablespoon coconut oil in a double boiler. Stir until fully combined. Pour immediately into tubes or pots. Let cool completely at room temperature without moving – about 30 minutes.
DIY Tip: Pour your gloss into tubes while the mixture is still very liquid and warm – if you wait too long it starts to thicken and you end up with air bubbles and uneven surfaces in your finished gloss.
2. Tinted Berry Lip Gloss
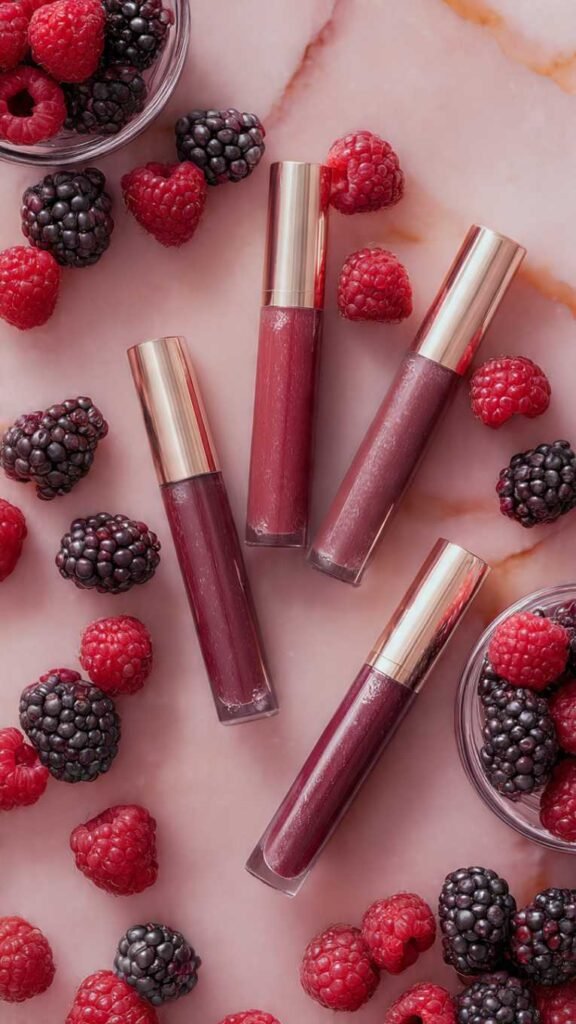
This is the recipe that made me feel like an actual cosmetic chemist the first time I made it because the color comes out so perfectly. You use a tiny amount of lipstick or eyeshadow in a berry or plum tone to tint the clear base, and the color is genuinely beautiful and customizable – add more pigment for deeper color, less for a sheer tint. The berry tones are flattering on basically every skin tone which is why this one is such a crowd pleaser. It looks like something from a high-end brand when it’s sitting in a little glass pot.
What It Is: A sheer to medium coverage tinted lip gloss in berry or plum tones, made by adding lipstick or cosmetic pigment to a clear gloss base for buildable color and shine.
Supplies and Budget: Clear gloss base ingredients ($22–28 from recipe 1), old lipstick or cosmetic grade pigment in berry tone ($2–5), lip gloss tubes ($5). Total: $29–$38 makes 6–8 tubes
Quick How-To: Make your clear gloss base and while still melted, add a small scrape of berry lipstick or a pinch of cosmetic pigment. Stir thoroughly until color is completely even with no streaks. Adjust color intensity by adding more pigment. Pour into tubes and cool.
DIY Tip: Use a toothpick to add pigment in tiny amounts and stir completely between each addition – it’s much easier to add more color than to fix a gloss that turned out way darker than you wanted.
3. Vanilla Flavored Gloss
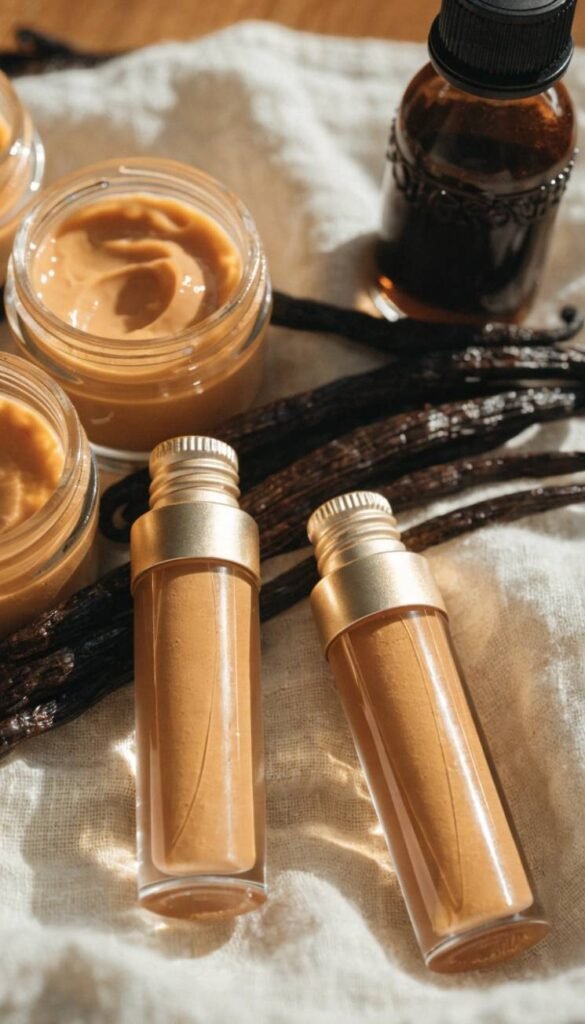
Flavored lip gloss is genuinely one of the most satisfying things to make because you get to smell and taste-test your own beauty product, which feels very fun. Vanilla is the classic flavor that almost everyone loves and it pairs beautifully with a golden or nude tint to create something that smells amazing, looks gorgeous, and actually tastes good enough that you don’t mind when it ends up on your coffee cup. Vanilla extract works but food-grade flavor oils give a stronger, longer-lasting scent and flavor that holds up better in the formula.
What It Is: A flavored lip gloss scented and flavored with vanilla using food-grade flavor oil, optionally tinted with a warm nude or golden tone for a universally flattering finish.
Supplies and Budget: Clear gloss base ingredients ($22–28), food-grade vanilla flavor oil ($5–7), optional nude/gold cosmetic pigment ($3–5), lip gloss tubes ($5). Total: $30–$40 makes 8–10 tubes
Quick How-To: Make your melted clear base. Remove from heat and let cool slightly – about 2 minutes – before adding flavor oil so the scent doesn’t fully evaporate from the heat. Add 10–15 drops vanilla flavor oil, stir well. Add optional tint. Pour into tubes.
DIY Tip: Always add flavor oils after removing from heat and letting the mixture cool slightly – adding them while the mixture is at full melting temperature causes the fragrance to evaporate quickly and your finished gloss won’t have much scent left.
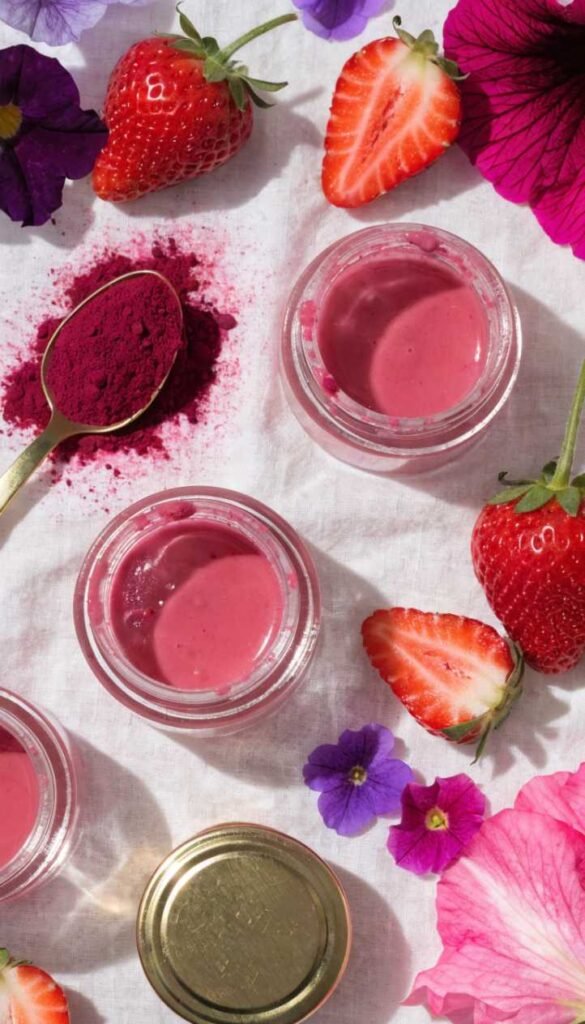
4. Strawberry Shea Butter Gloss
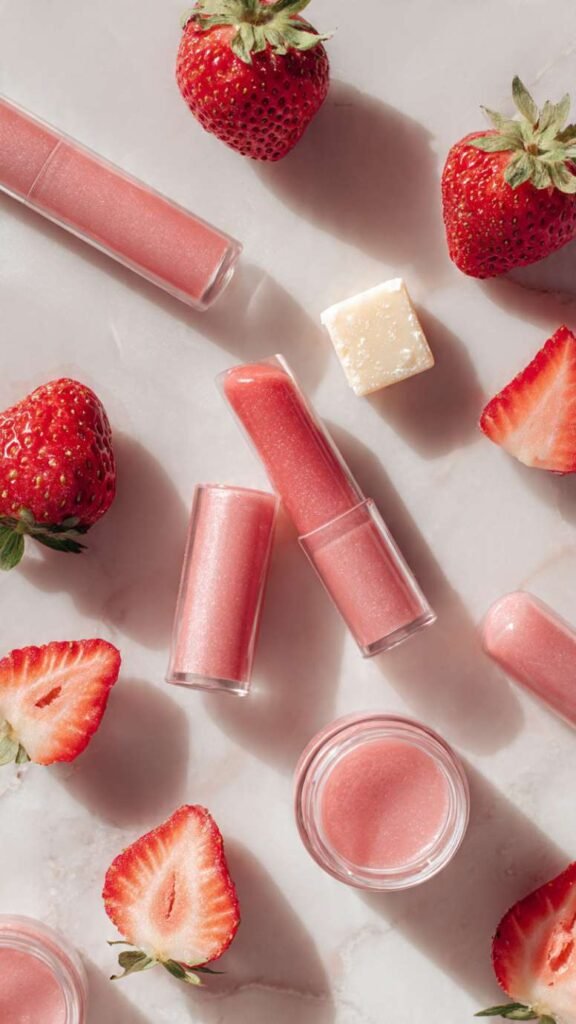
Shea butter in a lip gloss formula is a total game changer if you deal with dry or chapped lips because it adds a level of moisture and nourishment that regular oils alone don’t give you. The combination of shea butter with strawberry flavor oil and a hint of pink pigment makes this the most popular gloss I’ve ever given as a gift – every single person who tries it asks for the recipe or wants another one. It has a slightly thicker, creamier texture than a straight oil-based gloss which some people really prefer for the way it feels on the lips.
What It Is: A moisturizing tinted lip gloss made with shea butter as the base for extra nourishment, flavored with strawberry and tinted pink for a sweet, creamy, hydrating formula.
Supplies and Budget: Shea butter ($7–9), castor oil ($6–8), beeswax pellets ($6–8), strawberry flavor oil ($5–7), pink cosmetic pigment ($3–5), lip gloss tubes ($5). Total: $32–$42 makes 8–10 tubes
Quick How-To: Melt 1 tablespoon beeswax, 1 tablespoon shea butter, and 2 tablespoons castor oil together. Remove from heat. Add pink pigment and stir smooth. Add 10–12 drops strawberry flavor oil when slightly cooled. Pour into tubes immediately.
DIY Tip: Shea butter can make gloss slightly cloudy rather than crystal clear – if you want a more transparent finish, use refined shea butter instead of raw unrefined shea, which has a more neutral color and smell.
4. Strawberry Shea Butter Gloss
Shea butter in a lip gloss formula is a total game changer if you deal with dry or chapped lips because it adds a level of moisture and nourishment that regular oils alone don’t give you. The combination of shea butter with strawberry flavor oil and a hint of pink pigment makes this the most popular gloss I’ve ever given as a gift – every single person who tries it asks for the recipe or wants another one. It has a slightly thicker, creamier texture than a straight oil-based gloss which some people really prefer for the way it feels on the lips.
What It Is: A moisturizing tinted lip gloss made with shea butter as the base for extra nourishment, flavored with strawberry and tinted pink for a sweet, creamy, hydrating formula.
Supplies and Budget: Shea butter ($7–9), castor oil ($6–8), beeswax pellets ($6–8), strawberry flavor oil ($5–7), pink cosmetic pigment ($3–5), lip gloss tubes ($5). Total: $32–$42 makes 8–10 tubes
Quick How-To: Melt 1 tablespoon beeswax, 1 tablespoon shea butter, and 2 tablespoons castor oil together. Remove from heat. Add pink pigment and stir smooth. Add 10–12 drops strawberry flavor oil when slightly cooled. Pour into tubes immediately.
DIY Tip: Shea butter can make gloss slightly cloudy rather than crystal clear – if you want a more transparent finish, use refined shea butter instead of raw unrefined shea, which has a more neutral color and smell.
6. Minty Cool Lip Gloss
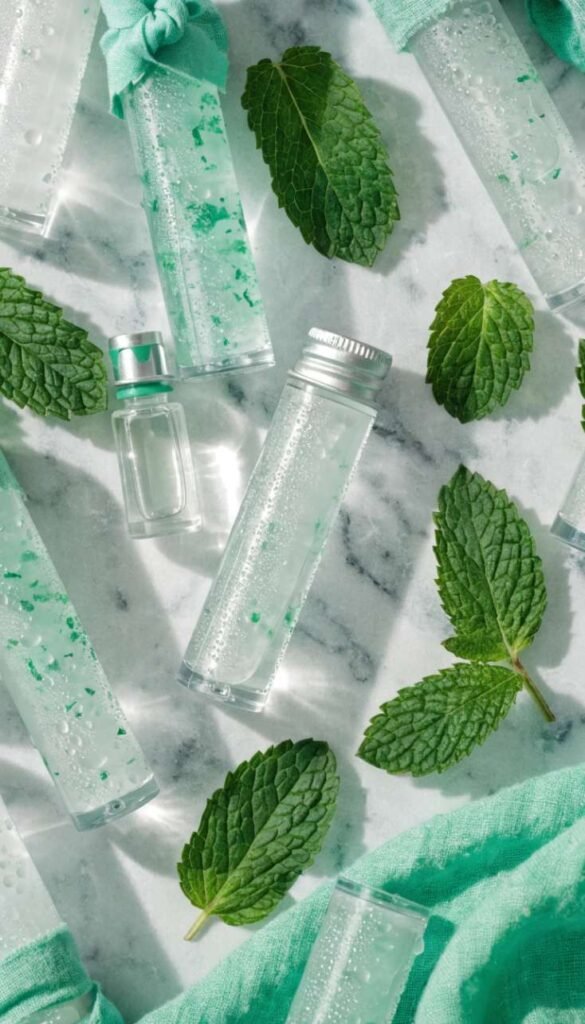
Peppermint lip gloss is one of those things that feels so refreshing and tingly that you find yourself reapplying it way more often than necessary just because it feels good. The peppermint oil gives a natural plumping sensation because it increases circulation slightly, which is a nice bonus. This recipe keeps the formula light and clear with just a hint of cool blue or keep it completely clear to let the mint speak for itself. It’s a really clean, fresh option that works for everyone and the tingle makes it feel like it’s doing something good even when you’re just wearing a fun gloss.
What It Is: A clear or lightly tinted cooling lip gloss made with peppermint essential oil for a refreshing tingle and natural subtle plumping effect.
Supplies and Budget: Clear gloss base ingredients ($22–28), peppermint essential oil – must be cosmetic/food grade ($5–7), optional light blue or clear tint ($3), lip gloss tubes ($5). Total: $30–$38 makes 8–10 tubes
Quick How-To: Make your clear melted base and let cool slightly off heat. Add 8–10 drops peppermint essential oil – not more or it becomes uncomfortably strong. Stir well. Add optional very light tint. Pour into tubes. Label with peppermint so people know what to expect.
DIY Tip: Start with fewer drops of peppermint than you think you need – you can always make a note to add more next time but a gloss that’s too minty is genuinely uncomfortable to wear and you’ll end up not using it.
7. Honey and Vitamin E Nourishing Gloss
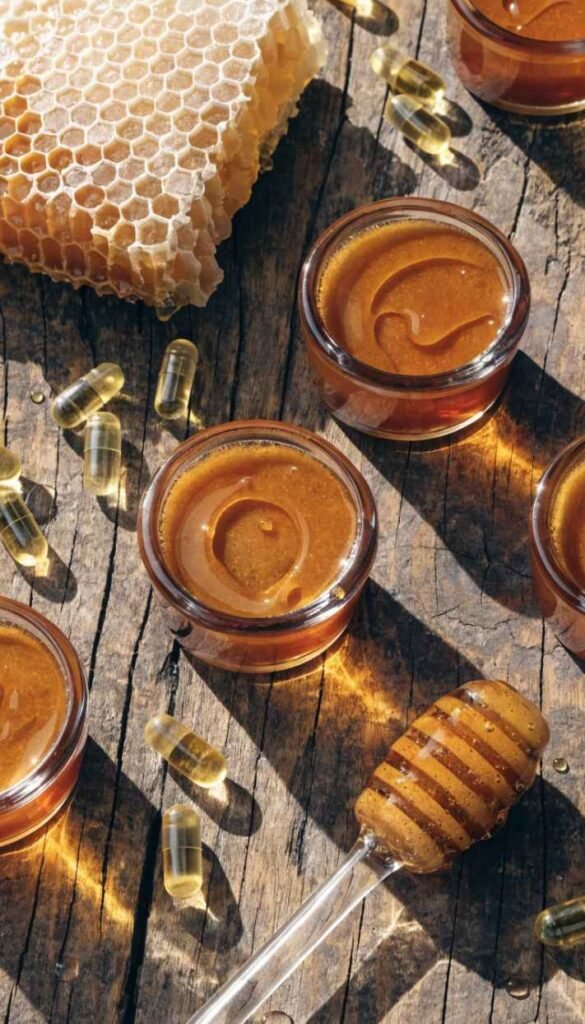
This is less about a bold look and more about having the most nourishing, healing thing you can put on your lips, especially in winter when everything dries out. Honey is naturally humectant which means it draws moisture to the lips, and vitamin E oil is one of the best ingredients for healing dry cracked skin. Together they make a gloss that actually improves your lips over time with regular use rather than just sitting on top. The texture is beautifully thick and the natural golden color of the honey gives a warm tinted shine that looks really lovely.
What It Is: A deeply nourishing lip gloss made with raw honey and vitamin E oil for healing and moisturizing properties, with a natural warm golden tint from the honey.
Supplies and Budget: Raw honey ($5–8), vitamin E oil ($6–8), beeswax pellets ($6–8), castor oil ($6–8), small lip pots ($5). Total: $28–$37 makes 6–8 pots
Quick How-To: Melt beeswax and castor oil together. Remove from heat and cool slightly. Add one teaspoon raw honey and the contents of two vitamin E capsules. Stir well – honey needs thorough mixing to incorporate. Pour into pots quickly as it thickens fast.
DIY Tip: Honey doesn’t blend into oil-based formulas automatically – you need to stir very vigorously and continuously for at least two full minutes to get it properly incorporated, otherwise it separates and sinks to the bottom of your pots.
8. Coconut and Mango Tropical Gloss
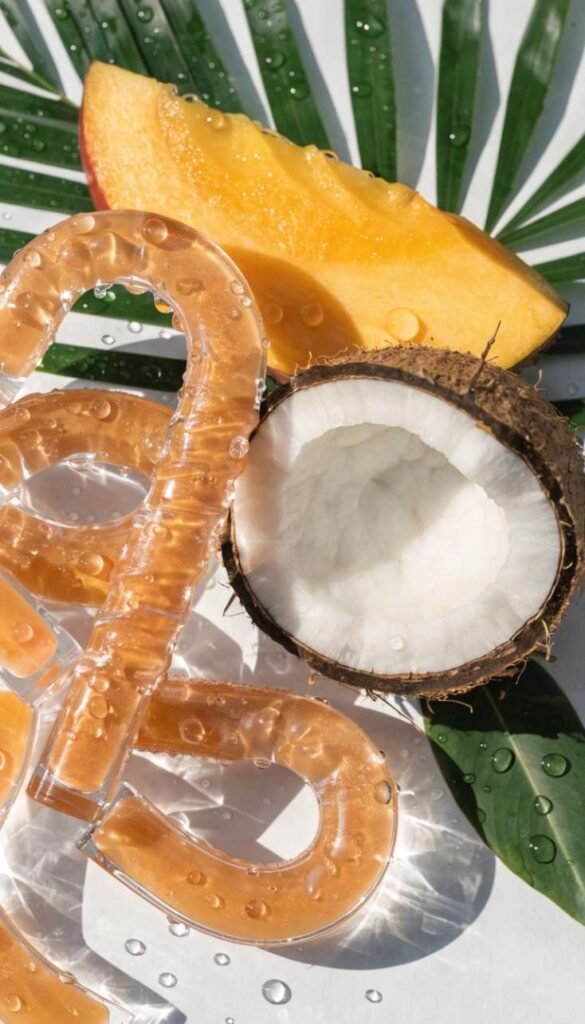
This combination smells so good that people will honestly ask you what perfume you’re wearing when you’re just wearing lip gloss, and that’s always a fun moment. Mango butter is the star ingredient here – it’s less well known than shea but it’s incredibly moisturizing, has a lighter texture, and has the most beautiful natural tropical scent that pairs perfectly with coconut. The finished gloss has a slightly warmer, more golden tone naturally from the mango butter and it feels incredibly smooth and nourishing on the lips without being heavy or sticky.
What It Is: A tropical-scented moisturizing lip gloss made with mango butter and coconut oil, naturally scented with mango flavor oil for a light, smooth, summery formula.
Supplies and Budget: Mango butter ($7–9), coconut oil ($5–7), beeswax pellets ($6–8), mango or tropical flavor oil ($5–7), lip gloss tubes ($5). Total: $28–$36 makes 8–10 tubes
Quick How-To: Melt beeswax, mango butter, and coconut oil together until fully liquid. Remove from heat, cool two minutes. Add 10–12 drops mango flavor oil and optional warm peach pigment. Stir well. Pour into tubes while still fluid.
DIY Tip: Mango butter melts at a lower temperature than beeswax so add it to the wax after the wax is already melted rather than melting them together from the start – this prevents the mango butter from overheating and losing some of its beneficial properties.
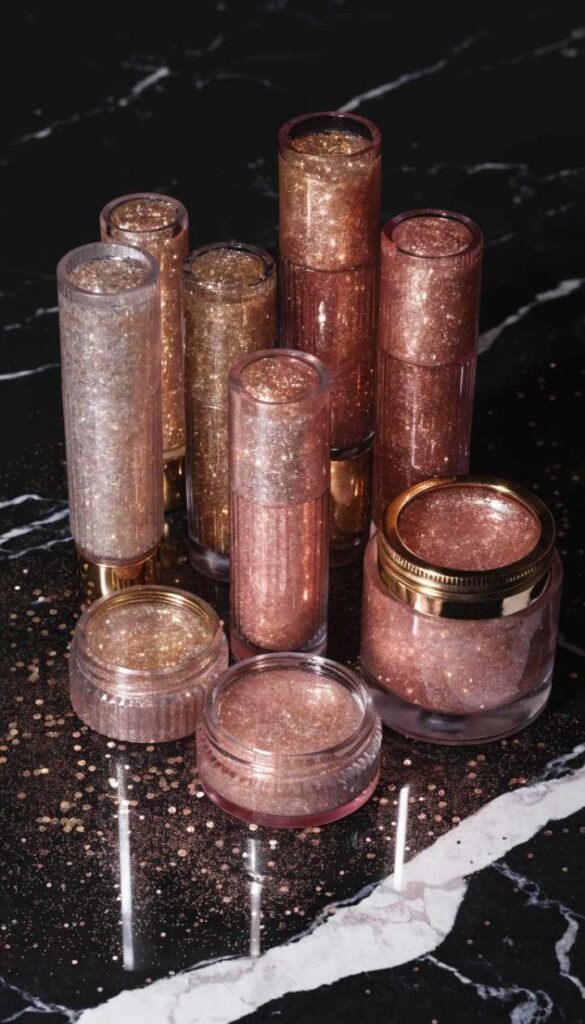
9. Rose Gold Metallic Gloss
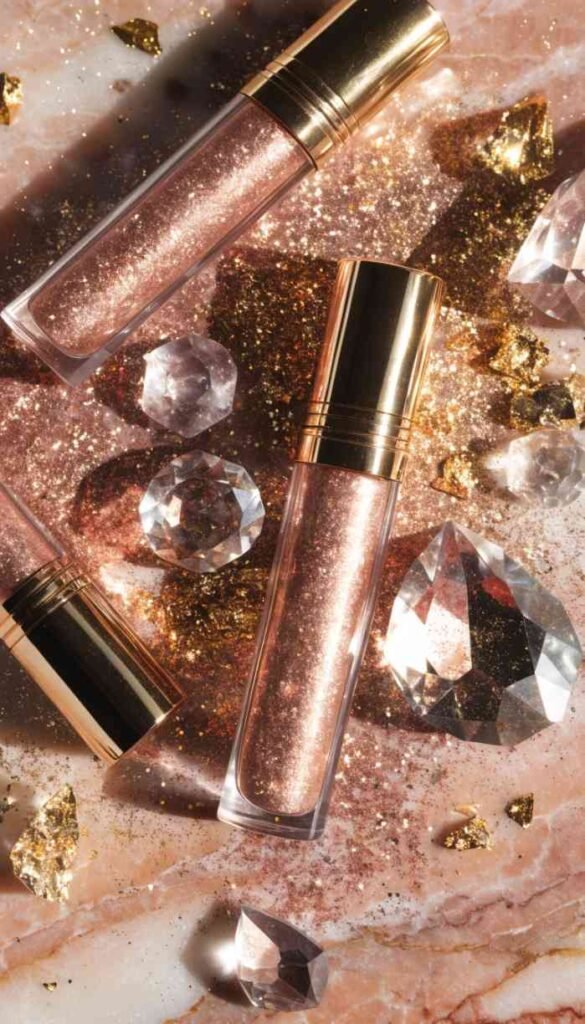
Rose gold everything had a moment and honestly it never really went away because the color is just genuinely beautiful on so many skin tones. This gloss uses a combination of rose-toned mica and gold mica powder to create that warm metallic rose gold finish that looks stunning in the tube and even better on the lips. It’s the kind of gloss that feels a little special, like you’d reach for it before a date or a girls’ night out rather than just a Tuesday morning. The metallic finish photographs beautifully which doesn’t hurt either.
What It Is: A metallic rose gold tinted lip gloss made by blending rose and gold mica powders into a clear gloss base for a warm, light-catching metallic finish.
Supplies and Budget: Clear gloss base ingredients ($22–28), rose mica powder ($4–6), gold mica powder ($4–6), lip gloss tubes ($5). Total: $30–$40 makes 8–10 tubes
Quick How-To: Make your clear melted base. Remove from heat. Add half a teaspoon rose mica and a quarter teaspoon gold mica. Stir thoroughly until completely blended with no streaks of separate color. Adjust the ratio for more pink or more gold. Pour into tubes while stirring.
DIY Tip: Mix your two mica colors together in a small separate dish before adding to the gloss base – this way you can see the rose gold color you’re creating and adjust the ratio before it goes into your whole batch.
10. Kids Safe Natural Tinted Gloss
Making lip gloss for little girls is one of the sweetest things you can do, and making it yourself means you know exactly what’s going into something they’re going to be putting on their lips and inevitably eating half of. This formula uses all food-safe ingredients so there’s genuinely nothing to worry about – beeswax, coconut oil, a tiny bit of beetroot powder for natural pink color, and a sweet strawberry or cherry flavor oil. It comes in the cutest little pots and kids absolutely love that their mom or aunt or whoever made it just for them.
What It Is: A completely natural, food-safe lip gloss for children made with beeswax, coconut oil, beetroot powder for natural pink color, and sweet flavor oil – safe if ingested in small amounts.
Supplies and Budget: Beeswax pellets ($6–8), coconut oil ($5–7), beetroot powder ($4–6), strawberry or cherry food-grade flavor oil ($5–7), small cute lip pots ($5–7). Total: $25–$35 makes 8–10 small pots
Quick How-To: Melt beeswax and coconut oil together. Remove from heat. Add a small pinch of beetroot powder and stir until color is evenly distributed. Add 8 drops flavor oil. Pour into small pots. Let cool and add cute labels or stickers with your child’s name.
DIY Tip: Beetroot powder gives a beautiful natural pink but the color looks much darker in the pot than it appears on the lips – what looks like a deep pink in the container will go on as the most perfect sheer rosy tint, so don’t be alarmed when you’re mixing it.