I have always loved peanut butter cups. There is something about that mix of creamy peanut butter and smooth chocolate that feels comforting and familiar. For years, I would just grab a pack from the store without thinking twice. But one quiet evening, after dinner, I started wondering if I could make them myself at home.
I looked in my pantry and saw creamy peanut butter, a little unsalted butter, confectioners’ sugar, and a big bag of milk chocolate chips. That was all I needed. It felt almost too simple. I mixed the peanut butter with the soft butter and powdered sugar until it turned smooth and sweet. I tasted a tiny bit and smiled. It already reminded me of the filling inside those little cups we all know.
Next, I melted the chocolate chips slowly, stirring gently so they stayed silky and glossy. The smell of warm chocolate filled the kitchen, and my husband walked in asking what I was making. I lined a muffin tin and spooned a little chocolate into each cup, just enough to cover the bottom. After it set slightly, I added a scoop of the peanut butter mixture and topped it with more melted chocolate.
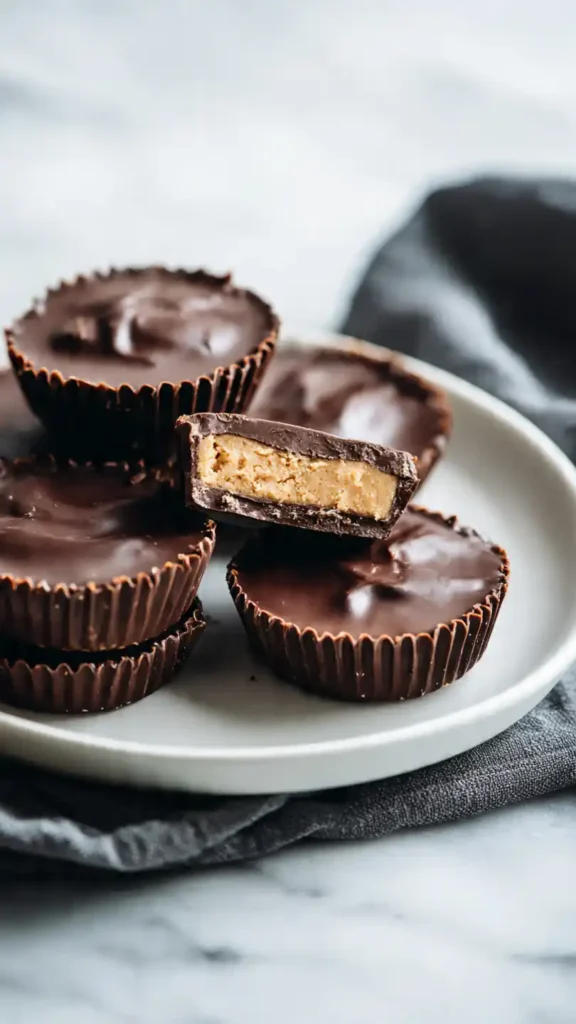
Waiting for them to chill was the hardest part. But when I finally peeled back the liners and saw those perfect little layers, I felt proud. We all took a bite together. The chocolate snapped softly, and the peanut butter center was rich and creamy.
Making these homemade peanut butter cups reminded me that sometimes the sweetest treats are the ones you create yourself, right in your own kitchen.
What Is Peanut Butter Cups
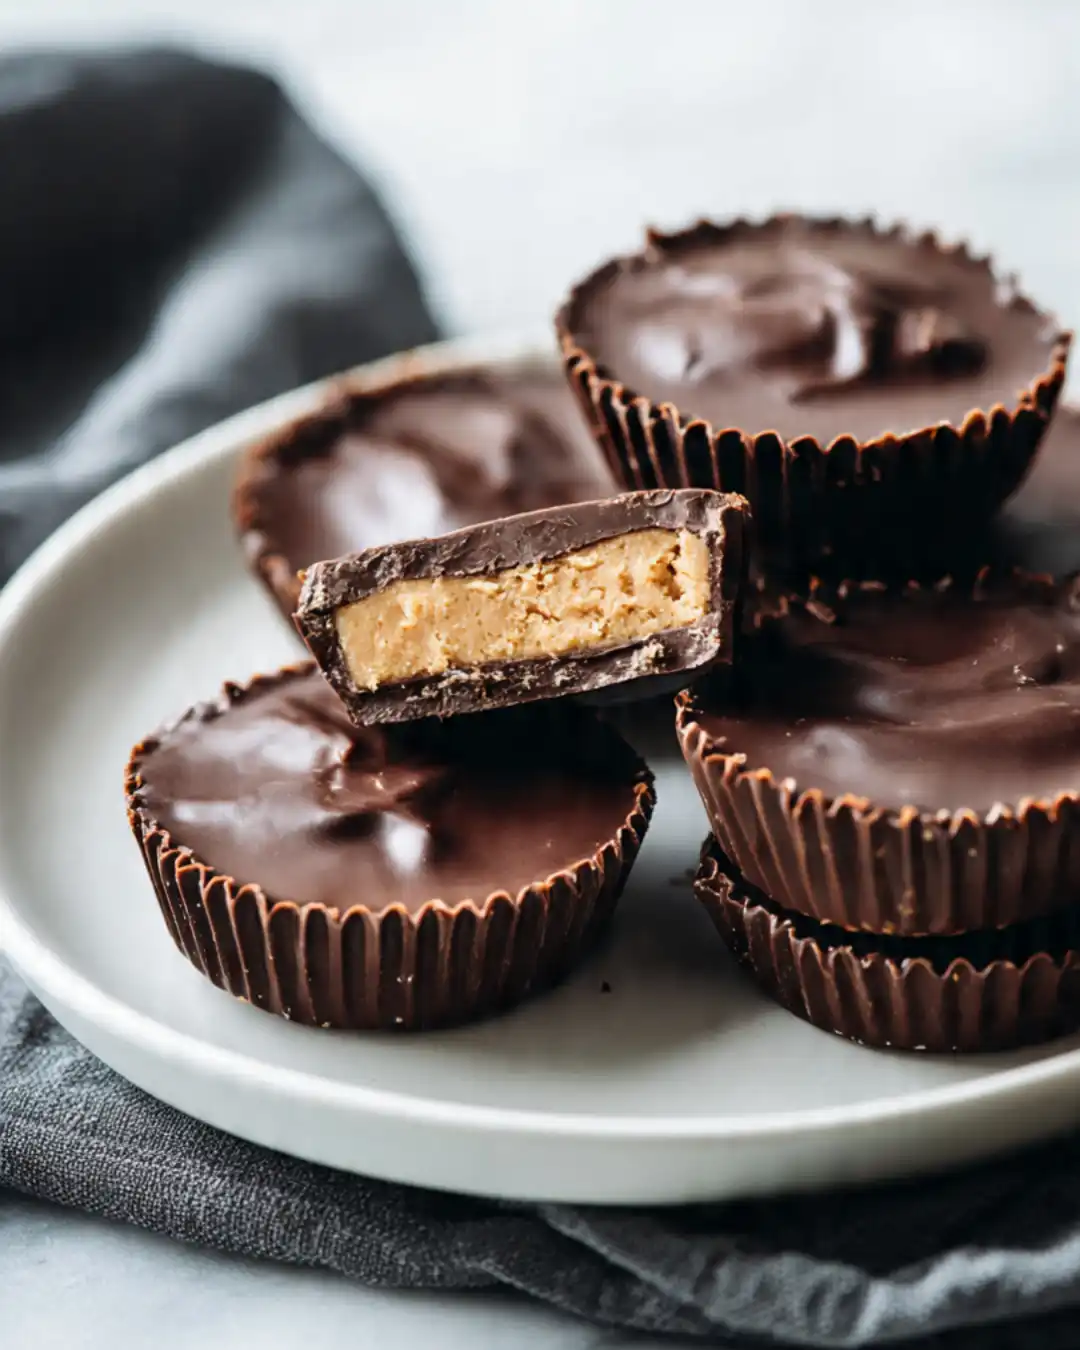
When I think about peanut butter cups, I picture small chocolate shells filled with a smooth peanut butter center. For me, they are simple layered candies made by coating the bottom and top with melted chocolate and placing a sweet peanut butter mixture in the middle. Once chilled, the chocolate firms up and holds everything together in neat, round shapes. I like how the outer layer snaps gently when you bite into it, revealing the soft filling inside. Making them at home feels straightforward, and I appreciate knowing exactly what ingredients go into each cup I serve.
Why You’ll Love This Peanut Butter Cups,
From the first batch I made, I realized how simple and satisfying homemade peanut butter cups can be. I love that this recipe uses just a few basic ingredients and comes together quickly without baking. The layers are easy to assemble, and the chocolate sets beautifully in the refrigerator. I also enjoy adjusting the sweetness or thickness of the peanut butter filling to suit my taste. For me, these peanut butter cups feel reliable and easy to share. They look neat in their paper liners and make a great homemade treat for gatherings or small gifts.
Ingredients for Peanut Butter Cups
- Creamy peanut butter – forms the smooth center and gives the cups their classic nutty taste.
- Unsalted butter (room temperature) – blends with the peanut butter to create a soft, easy to mix filling.
- Confectioners’ sugar – sweetens the peanut butter mixture and helps it hold its shape.
- Milk chocolate chips – melt into a smooth coating that forms the top and bottom layers of each cup.
Kitchen Equipment Needed
- Standard 12 cup muffin tin – shapes the peanut butter cups into even, round portions.
- Paper liners – prevent sticking and make each cup easy to remove and serve.
- Medium mixing bowl – combines the peanut butter filling ingredients smoothly.
- Hand mixer – blends the peanut butter, butter, and sugar until soft and uniform.
- Microwave safe bowl – melts the chocolate gently in short intervals.
- Spoon or small scoop – portions the chocolate and peanut butter layers evenly.
- Refrigerator – chills the cups until the chocolate is firm and set.
What to Serve with Peanut Butter Cups
When I serve homemade peanut butter cups, I like to keep the pairing simple and balanced. I usually place them on a small dessert plate with fresh strawberries or banana slices. Sometimes I add them to a tray with brownies or chocolate cookies for variety. I also enjoy serving them with a glass of cold milk or a warm cup of coffee. For gatherings, I arrange them neatly in their liners so guests can grab one easily. In my experience, peanut butter cups work best as a small sweet bite after a meal or during a casual get together.
How to Store Peanut Butter Cups
After the peanut butter cups have fully set, I keep them in their paper liners and place them in an airtight container. I usually store the container in the refrigerator so the chocolate stays firm and the filling keeps its shape. In my experience, they stay fresh for about one week when sealed properly. If I want to prepare them ahead of time, I sometimes freeze them and thaw in the refrigerator before serving. I prefer letting them sit at room temperature for a few minutes before eating so the center softens slightly and the texture feels just right.
FAQs
Frequently Asked Questions for Homemade Peanut Butter Cups
1. What type of chocolate works best?
Semi-sweet or milk chocolate both work beautifully. Choose good-quality chocolate so it melts smoothly and sets with a nice snap.
2. Can I use natural peanut butter?
You can, but make sure it’s well stirred and not too oily. Creamy peanut butter gives the smoothest filling and holds its shape better.
3. Why is my chocolate not smooth when melting?
Chocolate can seize if it gets too hot or if water gets into it. Melt it slowly and gently, stirring often, to keep it silky.
4. Can I make them with crunchy peanut butter?
Absolutely. Crunchy peanut butter adds a little texture and gives each bite a fun peanut crunch.
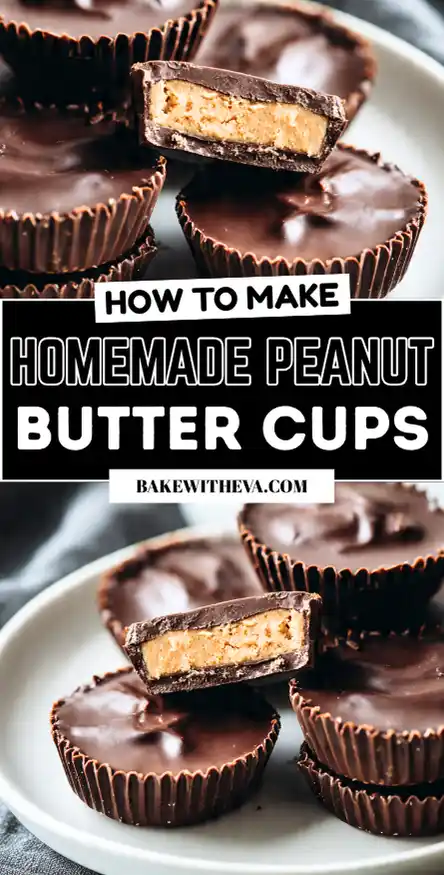
Homemade Peanut Butter Cups
Ingredients
Equipment
Method
- Line a standard 12-cup muffin tin with liners. Set aside.
- In a medium bowl, combine the peanut butter, butter, and confectioners' sugar. Using a hand mixer on low speed, blend everything together until smooth and well mixed. Set aside.
- Place the chocolate in a microwave safe bowl. Heat in 20 second intervals, stirring after each one, until the chocolate is fully melted and smooth, about 1 to 2 minutes total.
- Spoon about 1 tablespoon of chocolate into the bottom of each muffin cup, just enough to cover the base of the liner. Place 2 heaping teaspoons of the peanut butter mixture in the center. Add another tablespoon of chocolate on top of each one. Gently tap the muffin tin on the counter to help the chocolate spread evenly and smooth the tops.
- Chill in the refrigerator for 1 hour, or until set, before serving.