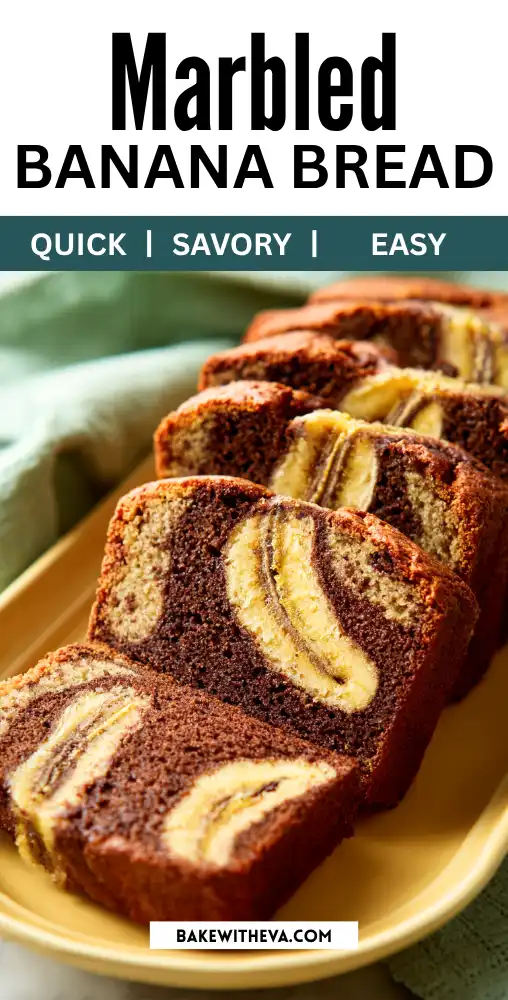
Marbled Banana Bread made with All-purpose flour, Baking soda, Salt, Unsalted butter, Sugar, Eggs, Ripe bananas, Sour cream, Vanilla extract, Semisweet chocolate, and Cocoa powder. A soft, moist loaf with rich chocolate swirls and sweet banana flavor.
I’ve always been fascinated by those gorgeous marbled cakes you see in bakery windows – the ones with perfect swirls of vanilla and chocolate that look like edible art. But I’d convinced myself that achieving that beautiful marbled effect required some kind of professional baking skill I definitely didn’t possess. So I just admired them from afar and stuck to my regular, boring, single-colored banana bread.
Then one Sunday afternoon, I was making my usual banana bread when my daughter wandered into the kitchen and asked why I never made it “fancy like those swirly cakes.” Out of the mouths of babes, right? I stood there with my bowl of banana bread batter and thought, what’s stopping me from making it fancy? Why couldn’t banana bread be marbled too?
I decided right then to give it a try. I mixed up my standard banana bread batter with flour, baking soda, salt, sugar, softened butter, eggs, mashed very ripe bananas, sour cream, and vanilla extract. The sour cream was my secret weapon for keeping the bread extra moist – something I’d learned years ago and never looked back from.
Here’s where it got fun. I divided the batter in half and stirred chopped semisweet chocolate and cocoa powder into one portion, creating this rich, dark chocolate batter. Suddenly I had two bowls in front of me – one plain vanilla-banana, one chocolate-banana – and I felt like a real baker for the first time in my life.
The marbling technique turned out to be way easier than I’d imagined. I just alternated spooning the vanilla and chocolate batters into my loaf pan, then used a butter knife to swirl them together in a zigzag pattern. It didn’t have to be perfect – in fact, the more random and messy my swirls were, the better the final pattern looked. Who knew that being imperfect was actually the goal?
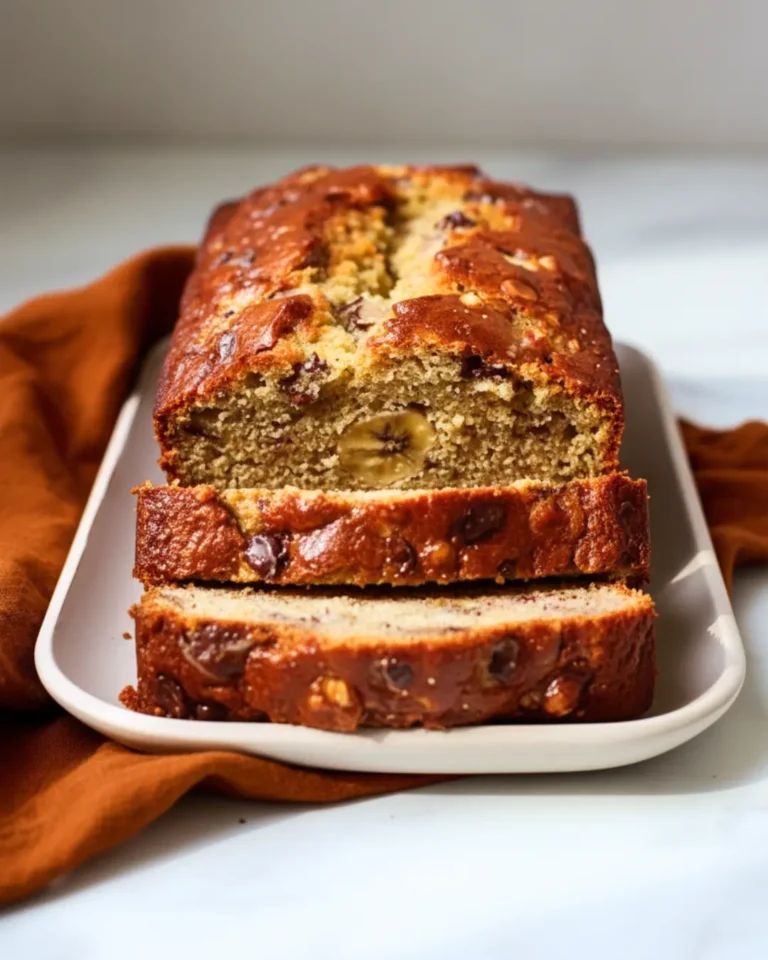
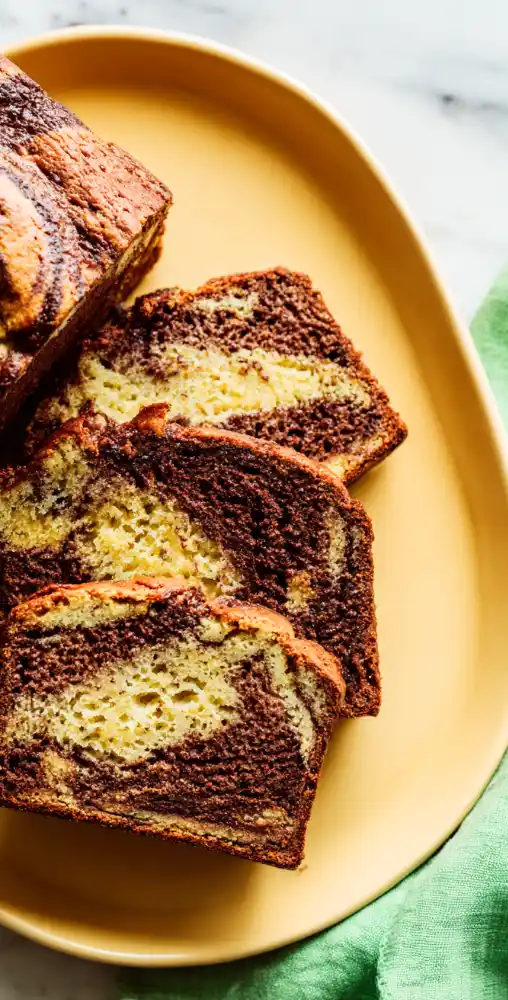
As it baked, my kitchen smelled incredible – that familiar banana bread aroma mixed with rich chocolate. When I pulled it out and let it cool, I kept peeking at it, dying to slice into it and see if the marbling had actually worked. When I finally cut that first slice, I actually gasped. There were these gorgeous chocolate and vanilla swirls running throughout, exactly like those fancy bakery cakes I’d been admiring for years.
My daughter took one look at it and squealed, “Mom, you made it fancy!” My son, who usually just grabs a slice and runs, actually sat down at the table to admire it before eating. Even my husband, who claims all banana bread tastes the same, admitted this one was special – not just because of how it looked, but because the chocolate swirls added this whole new dimension of flavor.
What Is Marbled Banana Bread?
When I first made marbled banana bread, I realized it’s really just a creative twist on the classic recipe. It starts with a smooth banana bread batter, then part of it is mixed with melted chocolate and cocoa powder to make a second layer. The two are gently swirled together to create that marbled look you see in bakery cakes. Each slice shows off ribbons of chocolate and banana running through it, making it just as beautiful as it is delicious. It’s the kind of loaf that feels a little special but is still simple enough to bake anytime.
Why You’ll Love This Marbled Banana Bread
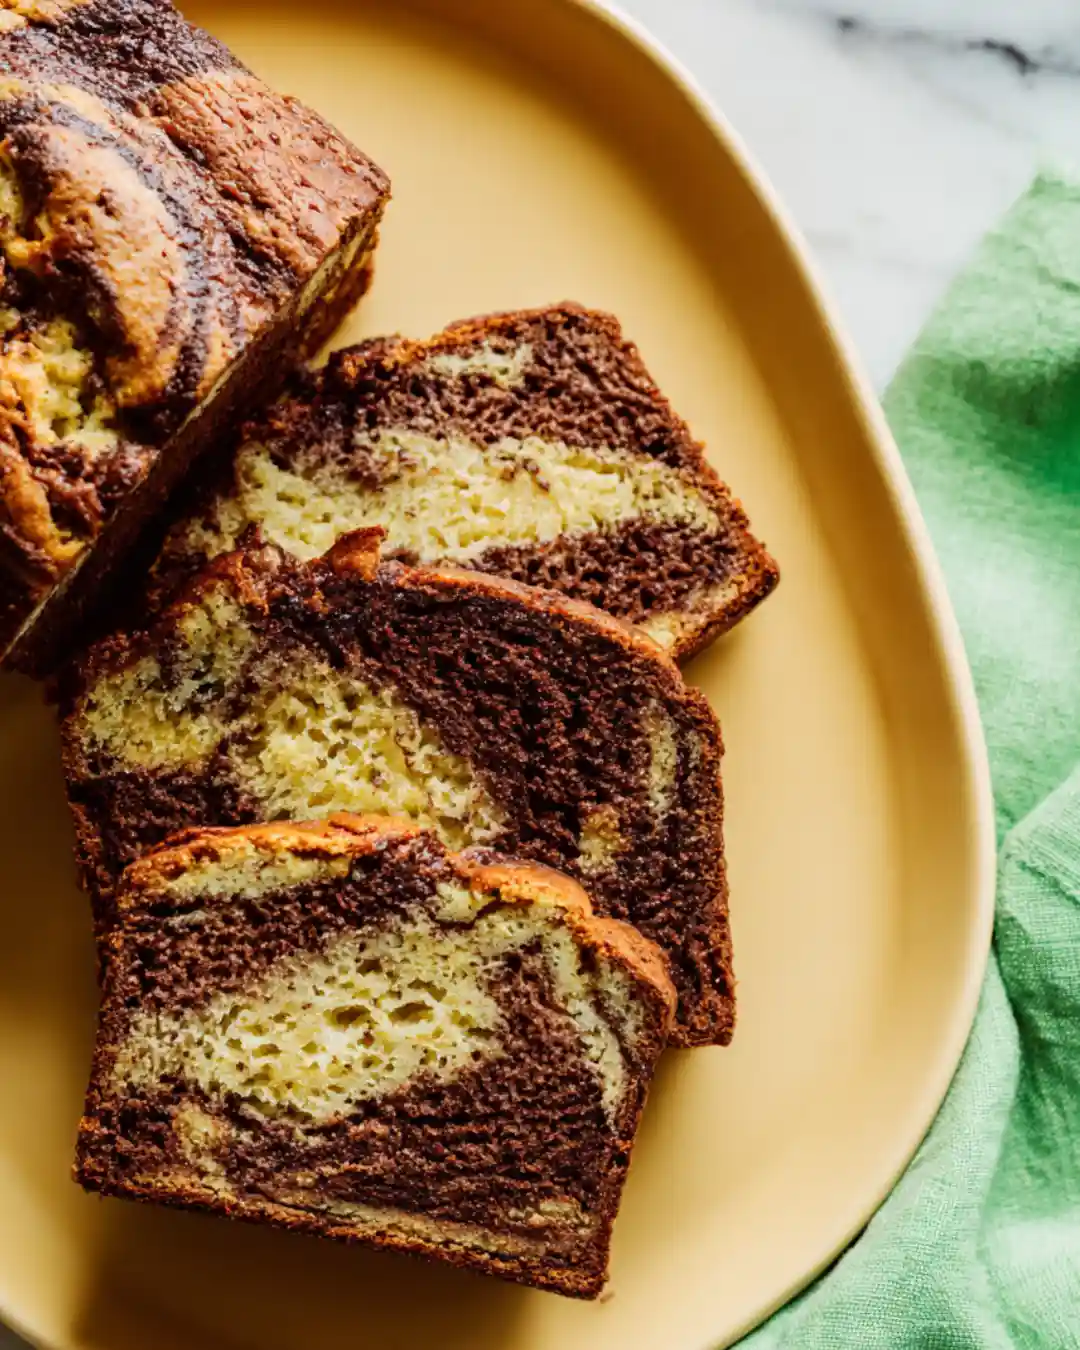
What caught my attention the first time I baked this marbled banana bread was how effortless it looked once sliced. Those swirls of chocolate and banana make every piece look like it came straight from a bakery. The texture turns out soft and moist, and the mix of cocoa with ripe bananas gives it a balanced sweetness that isn’t overwhelming. It’s also a great way to make regular banana bread feel a little more special without adding extra work. Whether it’s for a weekend treat or to share with friends, this bread always leaves everyone asking for seconds.
Ingredients for Marbled Banana Bread
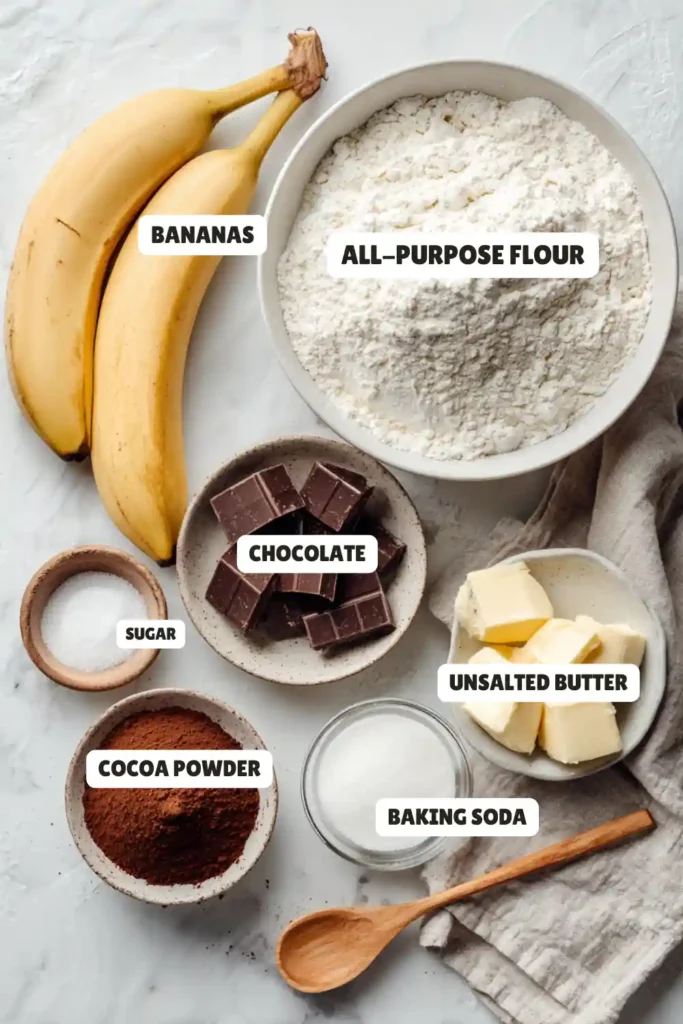
- All-purpose flour – gives the bread its structure and soft crumb.
- Baking soda – helps the loaf rise and stay light.
- Salt – brings out the sweetness of the bananas and chocolate.
- Unsalted butter – adds richness and a smooth texture.
- Sugar – sweetens the batter just enough.
- Eggs – bind everything together and keep the bread moist.
- Ripe bananas – the key ingredient for flavor and natural sweetness.
- Sour cream – adds moisture and a subtle tang.
- Vanilla extract – enhances the banana flavor.
- Semisweet chocolate and cocoa powder – create the marbled chocolate swirl.
Kitchen Equipment Needed
- Mixing bowls – one for the dry ingredients and one for the wet batter.
- Electric mixer or hand whisk – to cream the butter and sugar until fluffy.
- Spatula – for gently folding the ingredients together.
- Measuring cups and spoons – to ensure the right balance of ingredients.
- 9×5-inch loaf pan – the perfect size for baking this marbled loaf.
- Butter knife or skewer – to create the chocolate and banana swirl pattern.
- Microwave-safe bowl – for melting the chocolate.
- Cooling rack – to let the bread cool evenly after baking.
What to Serve with Marbled Banana Bread
When I slice into this marbled banana bread, I like pairing it with something that highlights both the banana and chocolate flavors. A warm cup of coffee or cappuccino is always my first choice, especially in the morning. On weekends, I sometimes serve it with a side of vanilla yogurt or a drizzle of melted chocolate for a little extra sweetness. Fresh berries also add a nice contrast and freshness. If I’m sharing it after dinner, a small scoop of ice cream on top turns it into an easy dessert everyone enjoys without much effort.
How to Store Marbled Banana Bread
After baking this marbled banana bread, I always make sure it cools completely before wrapping it. Once it’s at room temperature, I wrap the loaf tightly in plastic wrap or store the slices in an airtight container to keep them soft. It stays fresh on the counter for about three days, but if I want it to last longer, I refrigerate it for up to a week. For busy mornings, I like freezing individual slices and reheating them in the microwave for a quick breakfast that tastes just as good as when it was freshly baked.
Frequently Asked Questions
1. How do I get the perfect marbled look?
Pour alternating spoonfuls of the plain and chocolate batters into the loaf pan, then gently swirl them together with a knife. Don’t overmix or you’ll lose the swirl pattern.
2. Can I use cocoa powder for the chocolate part?
Yes, unsweetened cocoa powder works great. Just mix it with a bit of the batter and a spoonful of milk to keep it smooth and easy to swirl.
3. Can I make this recipe dairy-free?
Absolutely. Use coconut oil or plant-based butter instead of regular butter, and a non-dairy milk of your choice. It’ll still bake up soft and rich.
4. What kind of bananas are best to use?
Very ripe bananas with brown spots are perfect—they mash easily and give that sweet banana flavor that balances beautifully with the chocolate.
Marbled Banana Bread
Ingredients
Equipment
Method
- Preheat the oven to 350°F. Grease a 9 x 5-inch loaf pan generously with butter or nonstick cooking spray.
- In a medium bowl, whisk together the flour, baking soda and salt. Set aside.
- In the bowl of an electric mixer, beat the butter and sugar together on medium speed until light and fluffy, about 2 minutes. Add the eggs one at a time, mixing well after each addition. Reduce the speed to low, add the flour mixture, and mix just until combined. Add the mashed bananas, sour cream, and vanilla extract, then mix briefly until everything is incorporated. Avoid overmixing to keep the batter light and tender.
- Place the chocolate in a microwave-safe bowl and heat on high in 20-second intervals, stirring after each one, until about 80% of the chocolate is melted. Stir until completely smooth, allowing the residual heat to melt any remaining pieces. Add the cocoa powder and mix until fully dissolved. Then, stir in 1 cup of the banana bread batter until well combined and smooth.
- Spoon the plain and chocolate batters alternately into the prepared loaf pan, creating a marbled effect. Use a knife to gently swirl the two batters together—about 4 to 5 passes up and back is perfect. Avoid overmixing, as it will blur the colors. Bake for about 1 hour and 10 minutes, or until a cake tester or toothpick inserted in the center comes out clean. Let the loaf cool in the pan on a wire rack for about 10 minutes, then carefully remove it from the pan and allow it to cool completely on the rack.