Prep the Oven and Pan: Start by preheating your oven to 350°F so it is nice and hot by the time your batter is ready. I always take a moment to line my 8-by-8-inch metal baking pan with parchment paper or foil, making sure to leave a little bit of an overhang on the sides. This "sling" makes it so much easier to lift the entire block of brownies out of the pan later without them breaking or sticking. Give the lining a quick spray with non-stick cooking spray just to be extra safe, as these brownies are very fudgy and love to cling to the pan.
Melt and Mix the Base: In a large microwave-safe bowl, melt your 10 tablespoons of butter for about 90 seconds until it is completely liquid. While it is still warm, stir in your granulated sugar, brown sugar, and the sifted cocoa powder until everything is well combined. I like to let this mixture cool down for just a minute or two so it isn't piping hot when we add the eggs. This prevents the eggs from accidentally scrambling, and it gives the sugars a chance to start dissolving into that rich, buttery chocolate base.
Add the Wet Ingredients: Once the chocolate mixture has cooled slightly, stir in your vanilla extract, the two large eggs, the extra egg yolk, and that tablespoon of corn syrup. Use a whisk or a large spoon to beat the mixture until it is very smooth and looks a bit glossy. The extra egg yolk is what gives these brownies their incredible richness, while the corn syrup helps create that specific shiny top and chewy texture that we all remember from the store-bought version. You want to make sure the eggs are fully incorporated before you move on to the next step.
Fold in the Dry Ingredients: Add in your flour, cornstarch, and fine sea salt, and stir the mixture until it is just combined. Be careful not to overmix here; you just want to see the white streaks of flour disappear into the dark batter. The batter will be quite thick and heavy, which is exactly what you want for a dense brownie. Pour it into your prepared pan and use a spatula to smooth out the top into an even layer so that the brownies bake at the same rate and come out looking nice and flat.
Bake and Cool: Slide the pan into the center of the oven and bake for about 25 minutes. You can check them with a toothpick, but remember that these are fudgy brownies, so it’s okay if a few moist crumbs stick to the pick. Once they are done, take them out and let them cool completely in the pan on a wire rack. It is very important to let them get cold before you add the frosting; if the brownies are still warm, the ganache will just melt and run right off the sides instead of sitting in a thick, beautiful layer.
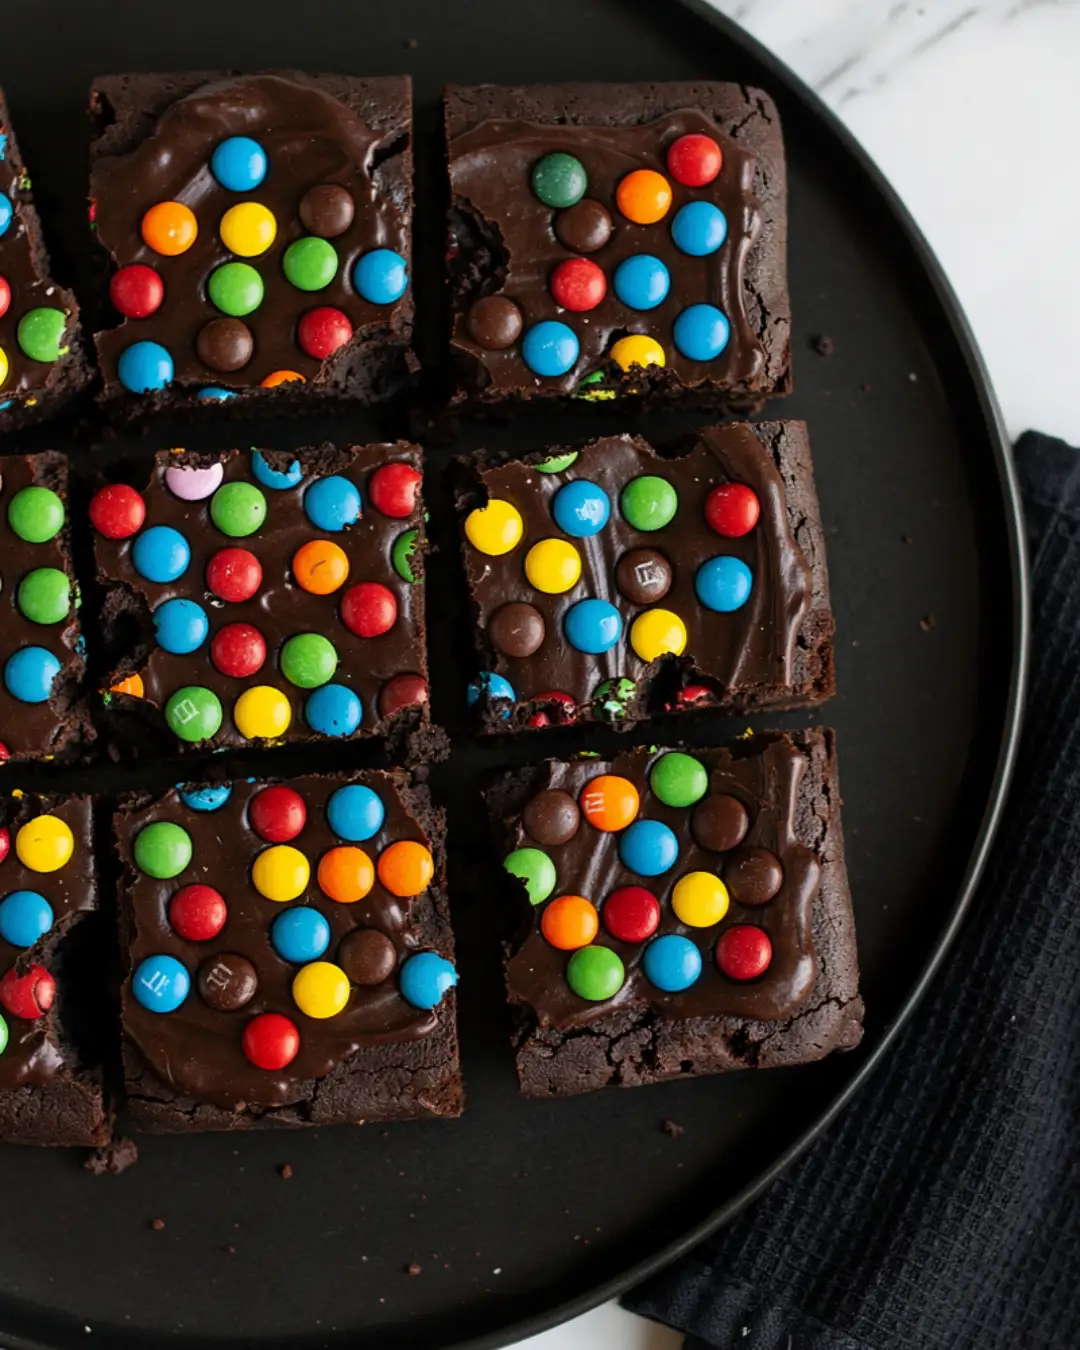
Frost and Decorate: While the brownies are cooling, heat your heavy cream in the microwave for about one minute until it is very hot. Pour the cream over your chocolate chips in a small bowl and let it sit for 3 minutes without touching it so the heat can soften the chocolate. Stir it gently until it turns into a smooth, shiny frosting, then pour it over your cooled brownies and smooth it out. Sprinkle your rainbow candy chips over the top and refrigerate the whole pan for 1 to 2 hours until the frosting is set and firm enough to cut into perfect, nostalgic squares.