There is something really lovely about a handmade bookmark. It’s one of those small everyday objects that you interact with every single time you sit down to read, which means a beautiful bookmark gets appreciated over and over again in a way that a lot of other handmade gifts simply don’t. Every time someone opens their book and sees the bookmark you made for them, they think of you. That’s a pretty special thing for such a small and simple craft.
Bookmark ideas are one of the most searched craft topics on Pinterest for good reason. Bookmarks are quick to make, inexpensive to put together, and work as thoughtful gifts for literally anyone in your life. A book lover, a student, a teacher, a coworker, a grandparent, a child. Everyone who reads needs a bookmark and a handmade one always feels far more personal than anything you could pick up at a store.
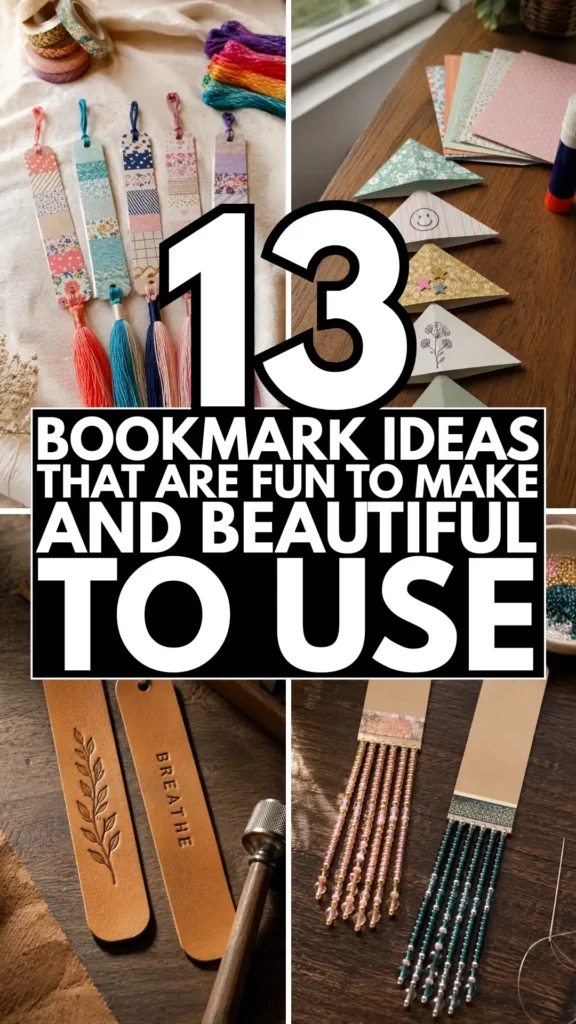
The other wonderful thing about making bookmarks is how many different materials and techniques you can use. You can make them from cardstock and washi tape in under ten minutes. You can sew them from fabric scraps. You can weave them from embroidery floss. You can make them from resin, from clay, from leather scraps, from watercolor paper. You can press flowers into them, stamp patterns onto them, hand letter quotes onto them, or crochet them from a single ball of yarn. The variety of approaches is genuinely amazing for such a small project.
Bookmarks are also a perfect craft for all skill levels. A child can make a simple folded corner bookmark in a few minutes while an experienced crafter can spend an enjoyable evening making a detailed embroidered or resin bookmark that looks like a piece of jewelry. There is no wrong way to make a bookmark as long as it holds your place and makes you smile every time you use it.
1. Pressed Flower Laminated Bookmark
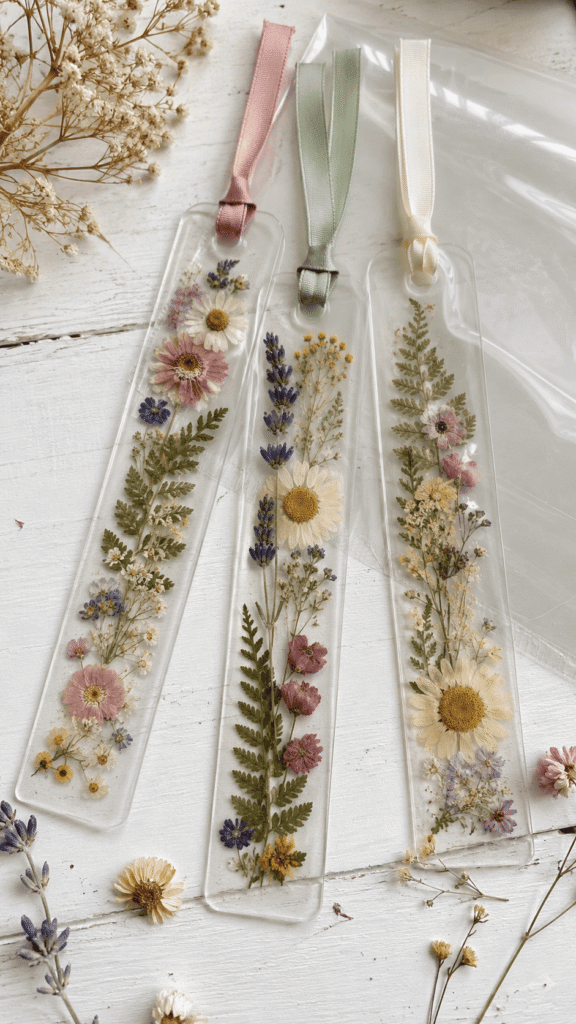
A pressed flower bookmark is one of the most naturally beautiful things you can make. Collect small flowers and leaves from your garden or a local park and press them flat between the pages of a heavy book for one to two weeks until completely dry. Arrange the dried flowers on a strip of white cardstock cut to bookmark size. Once you are happy with the arrangement, cover the whole thing with clear self-laminating sheets, pressing out all air bubbles carefully. Trim the edges neatly and punch a small hole at the top. Thread a short piece of satin ribbon or a tassel through the hole for a finishing touch. The finished bookmark looks like a tiny piece of nature art.
2. Corner Bookmark Folded from Cardstock
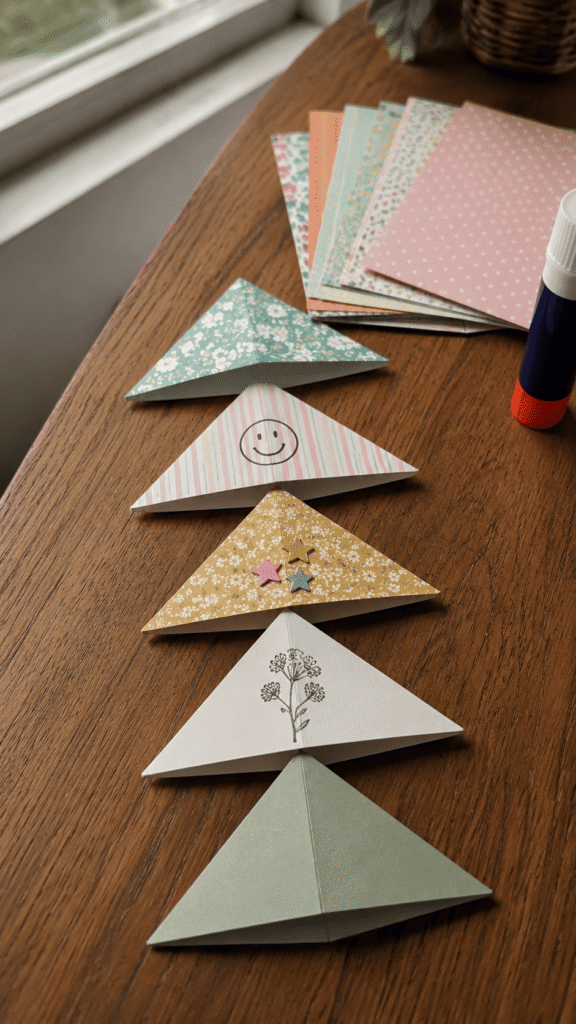
A folded corner bookmark is one of the most satisfying origami-inspired paper crafts you can make in under ten minutes. Cut a square of cardstock and fold it diagonally in half to form a triangle. Fold the two side corners of the triangle upward to meet the top point and crease them sharply. Tuck the flaps inside to create a little pocket that slips over the corner of a page. Decorate the front of the finished corner bookmark with stamped designs, stickers, hand-drawn faces, or small paper embellishments. These are incredibly fun to make in sets using coordinating cardstock patterns.
3. Tassel Bookmark Made from Embroidery Floss
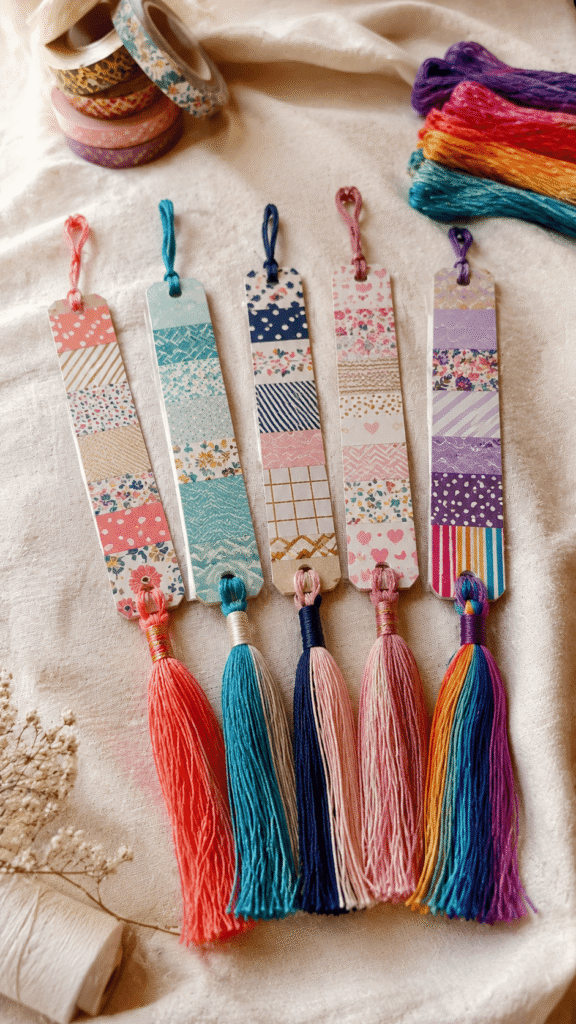
A tassel bookmark made from embroidery floss is colorful, tactile, and incredibly quick to put together. Cut a piece of stiff cardstock or a popsicle stick as your base and wrap it with a strip of washi tape or paint it in a solid color. Cut a generous bundle of embroidery floss strands all the same length and fold them in half over the bottom end of the cardstock base. Tie a separate strand tightly around the fold to form the tassel neck. Trim the tassel ends evenly. At the top of the cardstock add a small hole and thread a loop of contrasting colored floss through it as a hanging detail. The result is a bright and cheerful bookmark that any book lover will adore.
4. Watercolor Quote Bookmark
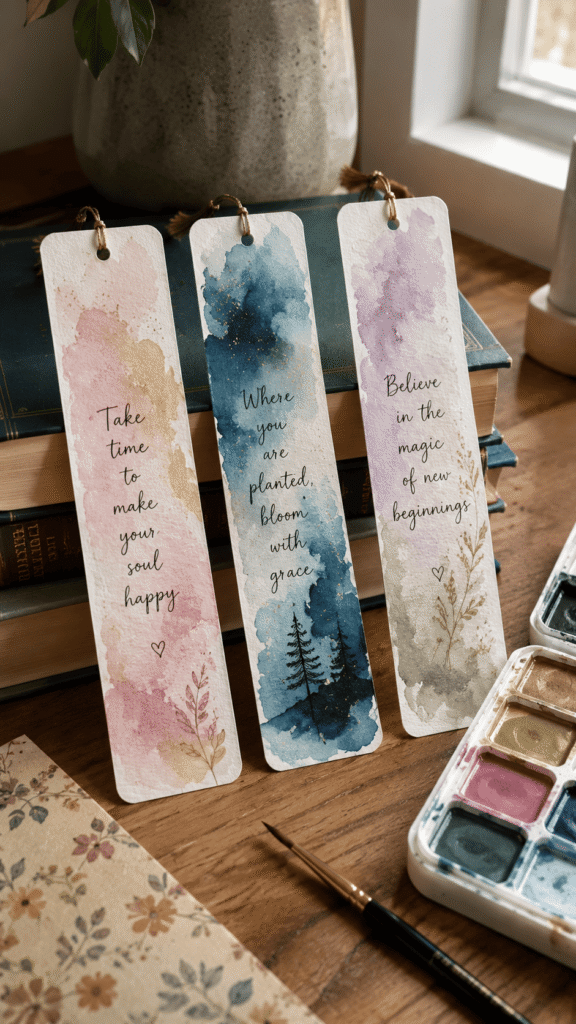
A watercolor painted bookmark with a meaningful quote hand lettered over the top is one of the most beautiful and personal bookmarks you can make. Cut a strip of thick watercolor paper to bookmark size and paint a loose wash across the whole surface in colors that complement each other beautifully. Let the paint dry completely. Then use a fine tip brush pen or a black Micron pen to write a favorite book quote, a motivational phrase, or a simple word down the center of the dried watercolor. Seal the finished bookmark with a light coat of clear acrylic spray to protect the paint and lettering. Add a tassel or ribbon at the top.
5. Leather Scrap Bookmark with Stamped Design
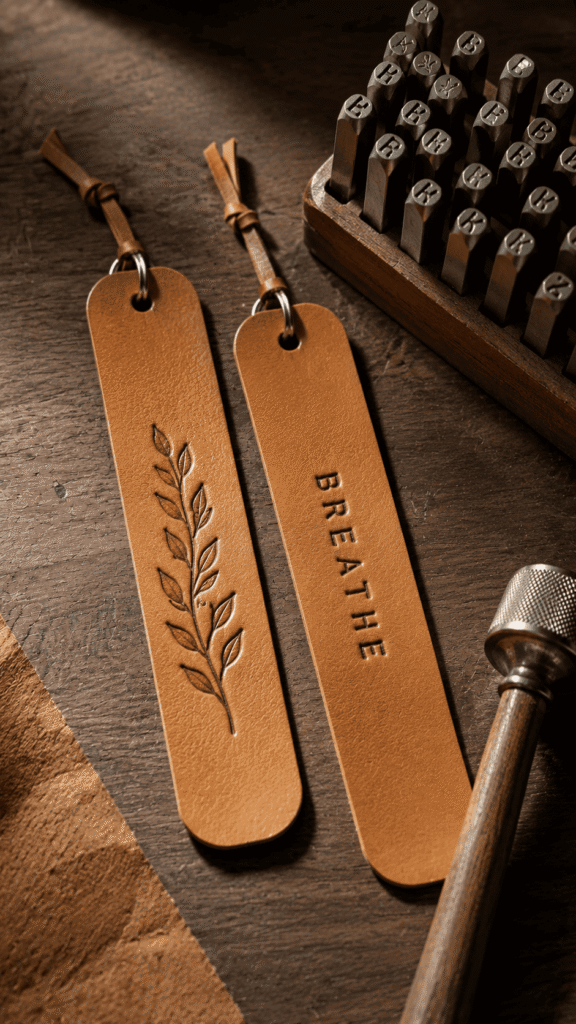
A leather bookmark feels luxurious and lasts for years without wearing out. Cut a long slim strip from a piece of scrap leather or thin craft leather sheet in a natural tan or brown tone. Round the bottom end neatly with scissors or a leather punch. Use letter stamps and a mallet to press a simple word or pattern into the leather surface while it’s slightly dampened, the impression holds permanently once the leather dries. Rub a tiny amount of brown or black leather dye into the stamped impressions and wipe away the excess so the design pops visually. Punch a small hole at the top and add a small metal ring with a leather cord loop.
6. Crochet Bookmark with Decorative End
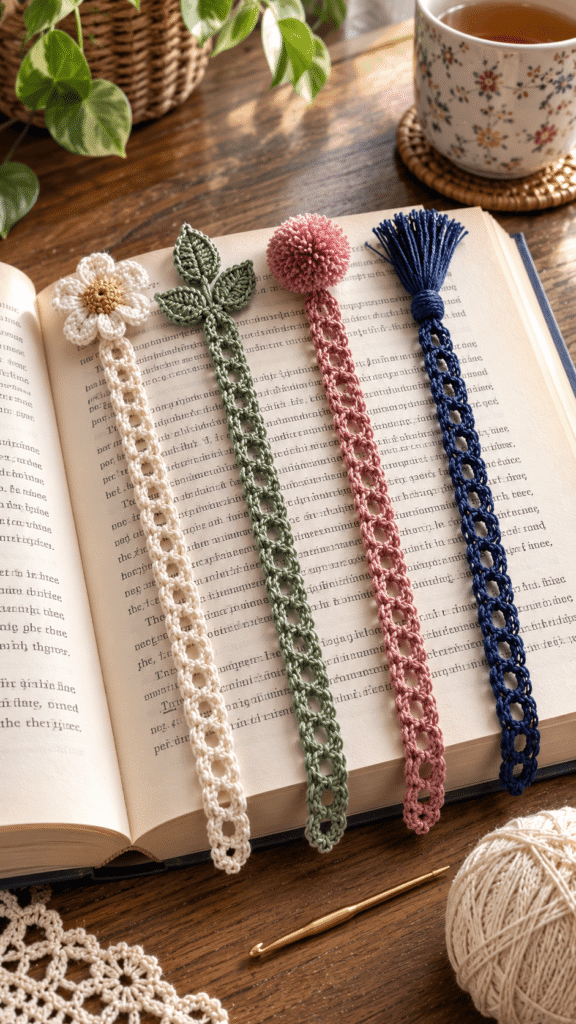
A crocheted bookmark is a beautiful and tactile alternative to paper bookmarks and it stays in the book without slipping out as easily. Use a fine crochet hook and a thin cotton crochet thread to work a simple chain stitch strip to bookmark length. Finish one end with a small decorative element like a crocheted flower, a crocheted leaf cluster, or a simple pompom. The other end can be finished with a small tassel made from the same thread. Use a solid color for a clean minimal look or alternate two colors for a simple striped effect. A set of three or four in different colors makes the most charming handmade gift for any crocheter or book lover.
7. Resin Bookmark with Dried Flowers Inside
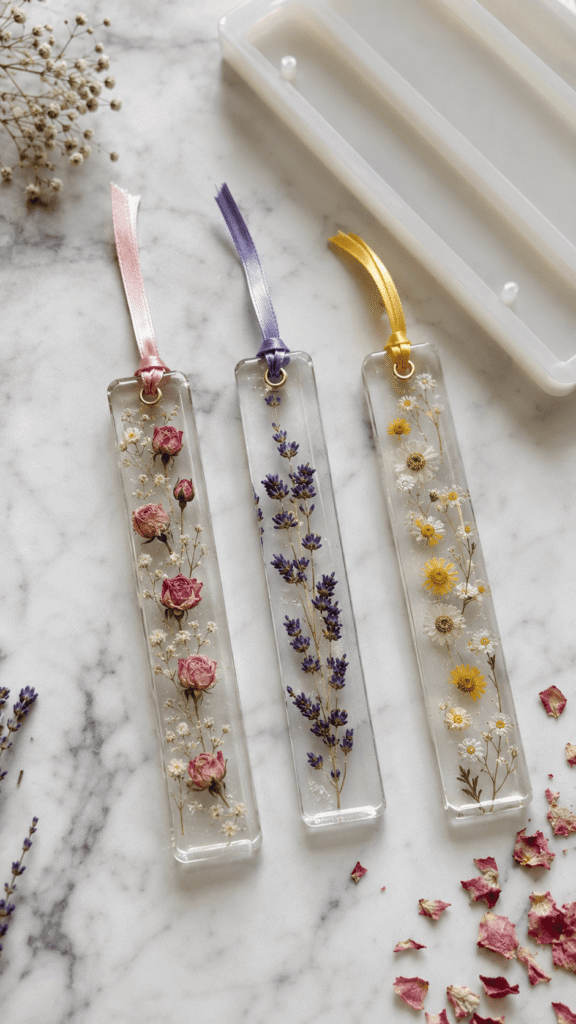
A clear resin bookmark with tiny dried flowers suspended inside looks absolutely breathtaking and feels like wearing a piece of jewelry on your book. Use a long slim rectangular silicone bookmark mold and pour a thin layer of clear casting resin into the base. While the resin is still liquid, place small dried flowers face down into the resin, tiny rosebuds, baby’s breath, small daisies, or lavender sprigs all work beautifully. Pour a second layer of clear resin over the top to fully encase the flowers. Once cured, pop the bookmark from the mold and lightly sand any rough edges. Add a gold eyelet at the top and a satin ribbon or small tassel.
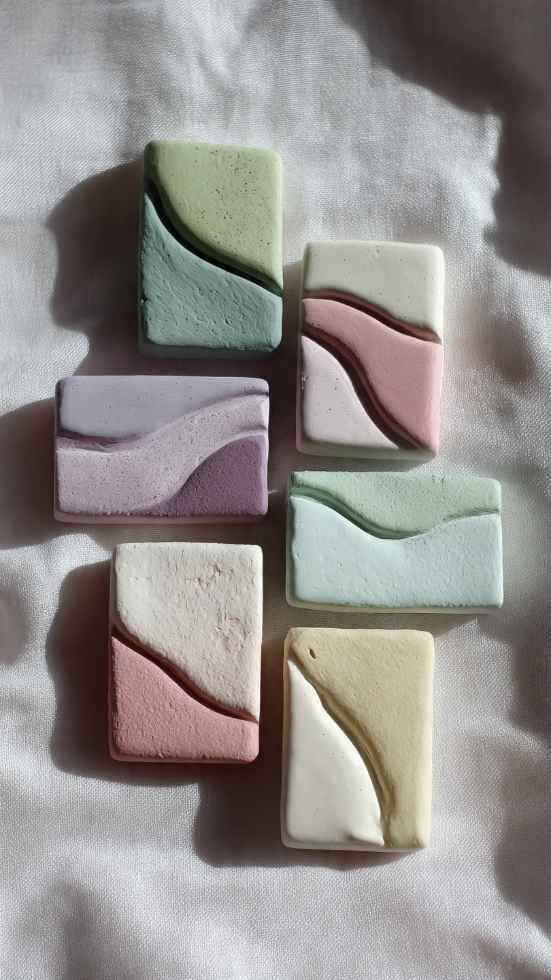
8. Polymer Clay Charm Bookmark
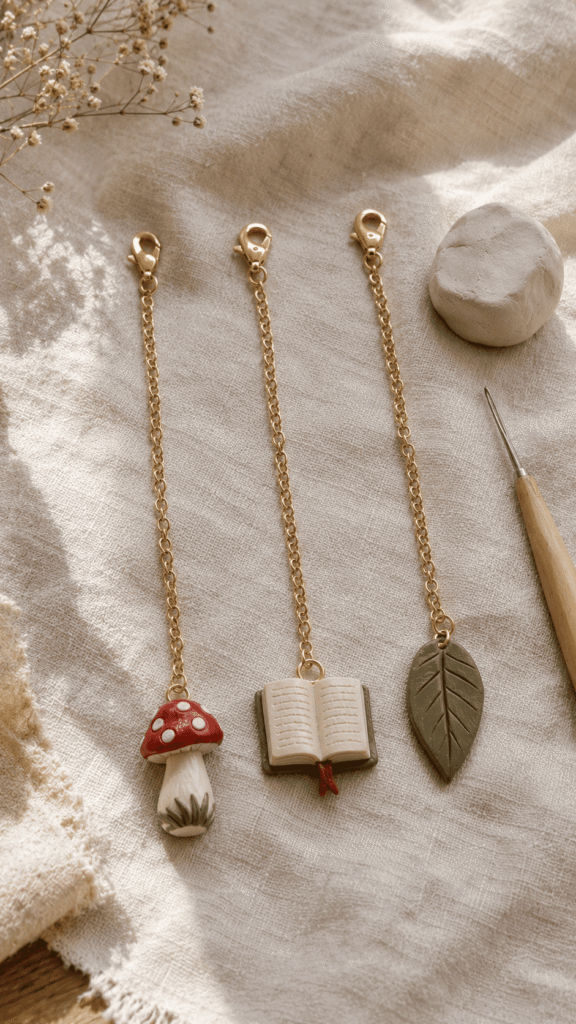
A polymer clay charm attached to a long beaded chain or ribbon makes the most beautiful and unique bookmark that doubles as a piece of art. Shape a small charm from polymer clay in any design you like, a tiny book, a simple heart, a small leaf, a miniature mushroom, or a simple initial letter. Use clay sculpting tools or toothpicks to add fine surface details. Bake the charm according to the clay package instructions and let it cool completely. Paint the charm with acrylic paint and seal with a clear varnish. Attach the finished charm to a length of thin gold chain or a satin ribbon long enough to hang down from the top of a closed book.
9. Washi Tape Striped Cardstock Bookmark
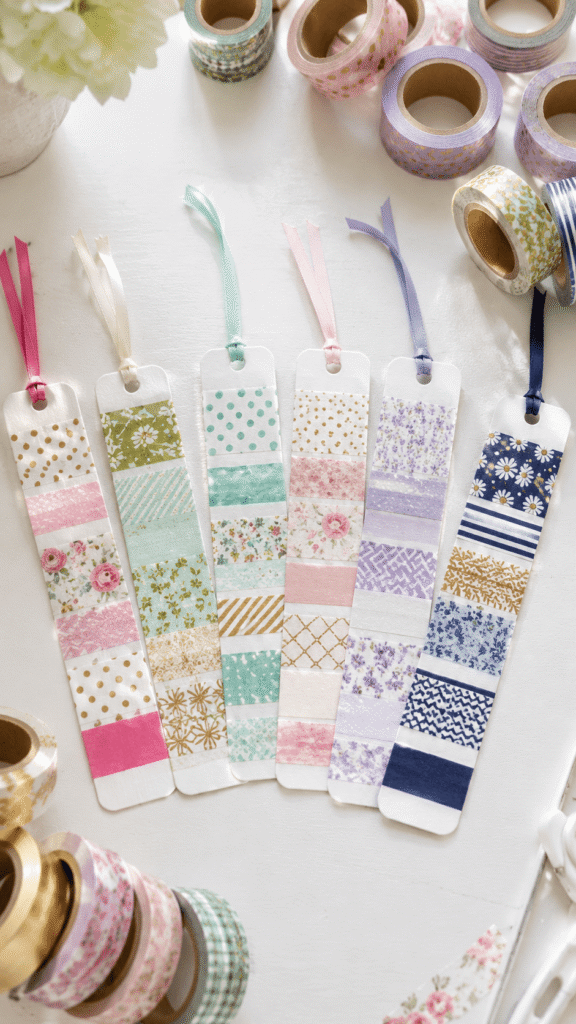
A washi tape bookmark is one of the quickest and most satisfying crafts you can make when you want something pretty in a hurry. Cut a long slim rectangle from white or kraft cardstock and apply strips of washi tape across the width of the bookmark in different patterns and colors, leaving a small gap between each strip or layering them edge to edge for full coverage. Trim the excess tape flush with the cardstock edges using a craft knife and ruler. Round the corners slightly with a corner punch or small scissors. Laminate the finished bookmark with clear contact paper for extra durability. Punch a hole at the top and add a simple ribbon or tassel.
10. Fabric Scrap Quilted Bookmark
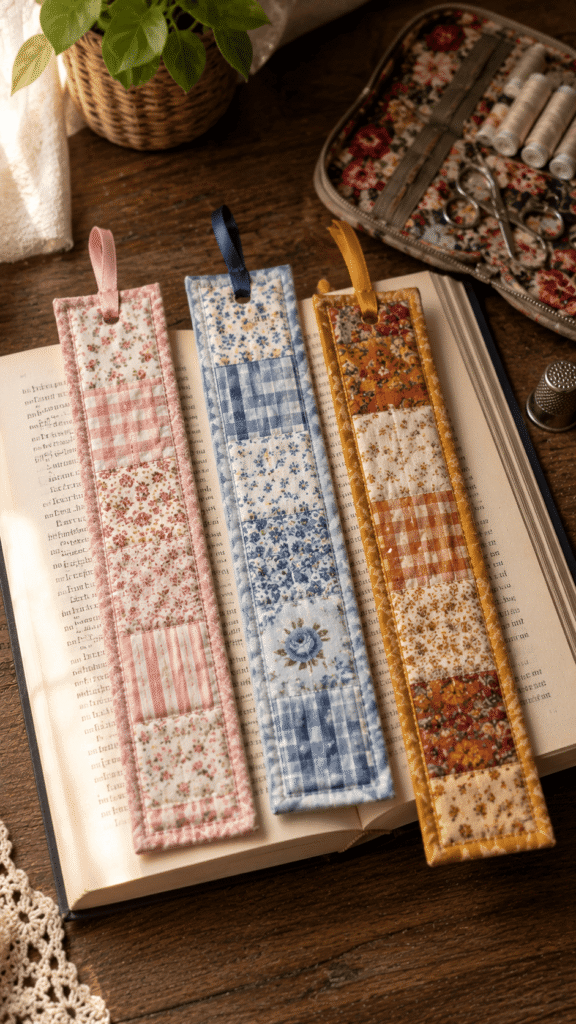
A small quilted fabric bookmark is a wonderful way to use up tiny scraps of pretty fabric from your sewing stash. Cut several small squares or rectangles of coordinating fabric scraps and sew them together in a simple patchwork strip to bookmark size. Back the patchwork with a plain piece of coordinating fabric and a thin layer of batting between the two layers for a slight padded feel. Quilt along the seam lines with a simple straight stitch. Finish the edges with a narrow binding strip in a complementary fabric. Add a ribbon loop at the top. The finished bookmark has a beautiful handmade quality and softness that makes it feel genuinely special.
11. Beaded Fringe Bookmark
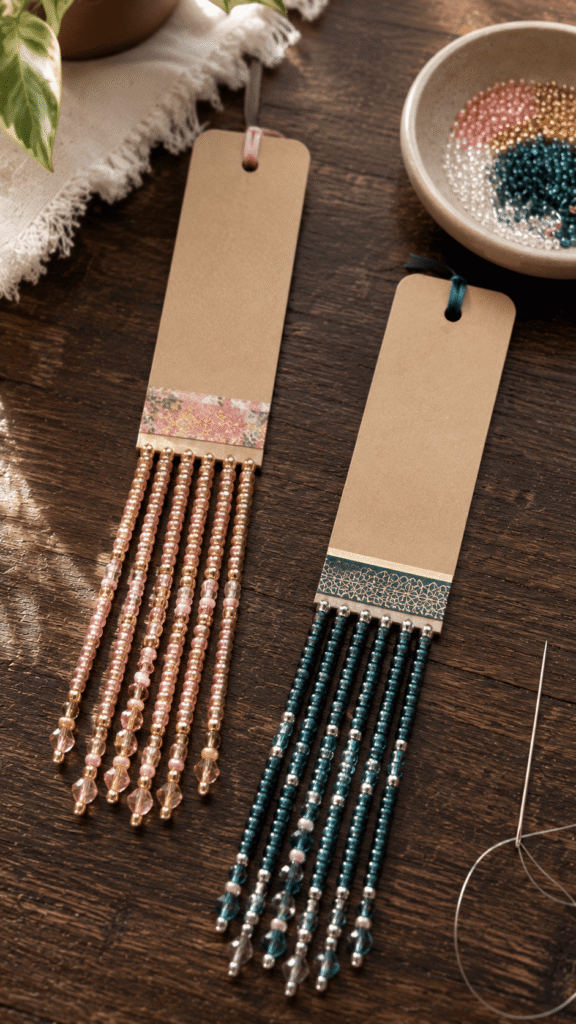
A beaded fringe bookmark is one of those projects that looks impressive but is genuinely simple to put together once you have your beads and thread ready. Cut a strip of sturdy cardstock or thin leather to bookmark dimensions. Punch a row of small holes along the bottom short edge. Thread a length of beading thread through each hole and string a sequence of small beads onto each thread, mixing seed beads with a few larger accent beads in coordinating colors. Tie a knot at the end of each thread to secure the beads. The finished bookmark has a gorgeous beaded fringe that hangs below the bottom of the book pages and catches the light beautifully.
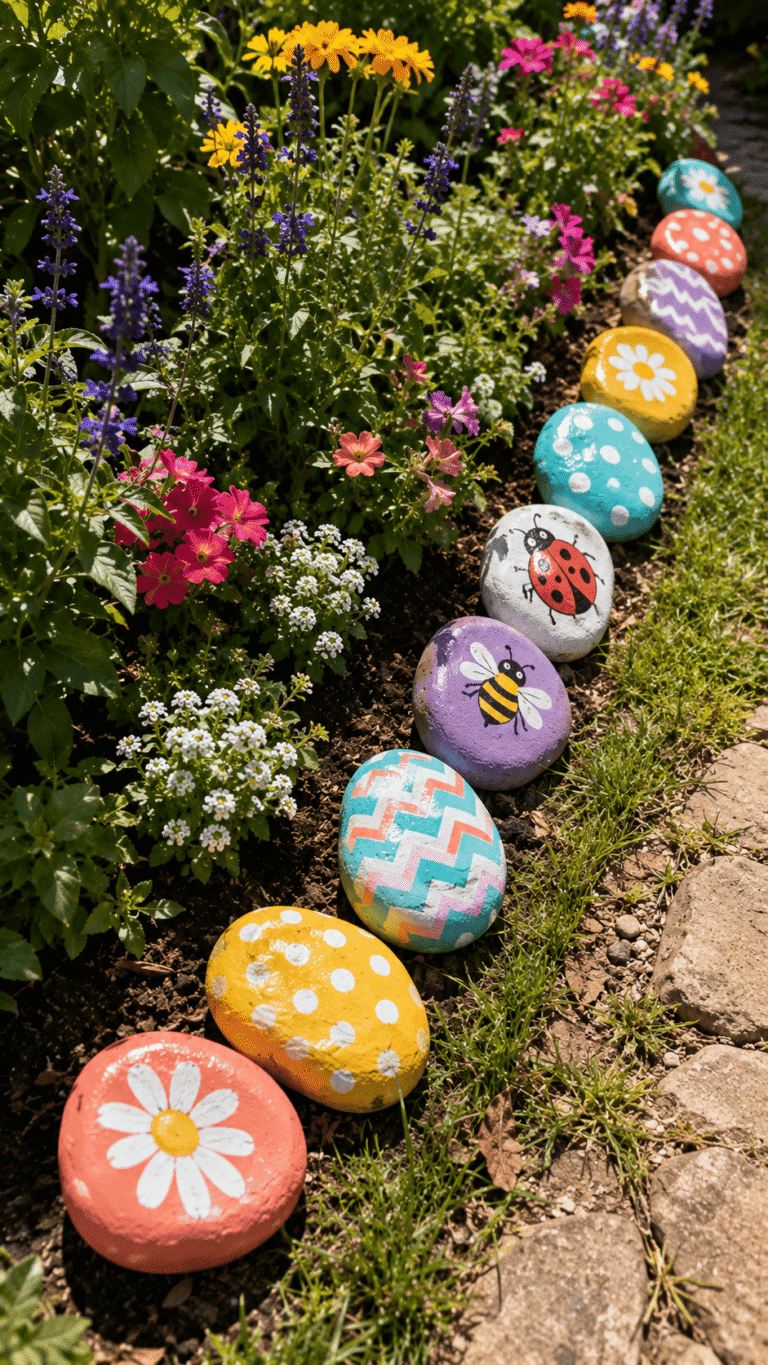
12. Painted Rock Bookmark Weight
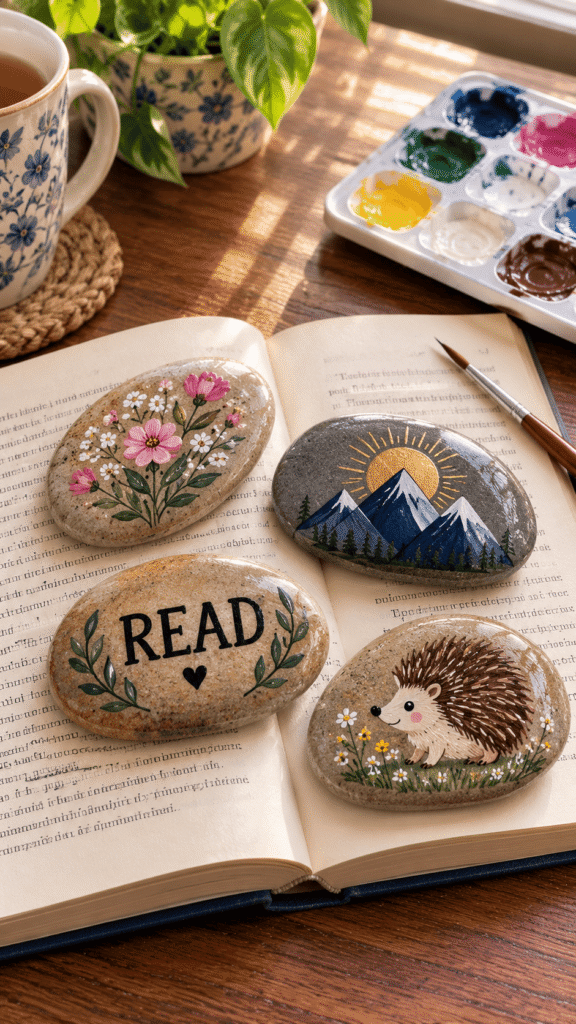
A small painted rock used as a book weight and page holder is a creative twist on the traditional bookmark concept. Find a flat smooth river rock about the size of a large thumb. Clean it thoroughly and let it dry completely. Paint the rock with a white gesso base coat first and then decorate it with acrylic paint in any design you love. A simple floral design, a tiny landscape, a geometric pattern, an inspirational word, or a little animal face all work beautifully on a small rock surface. Seal the finished painting with several coats of clear varnish. Rest the painted rock on the open pages of your book to hold your place without tucking anything between the pages.
13. Magnetic Corner Bookmark Set
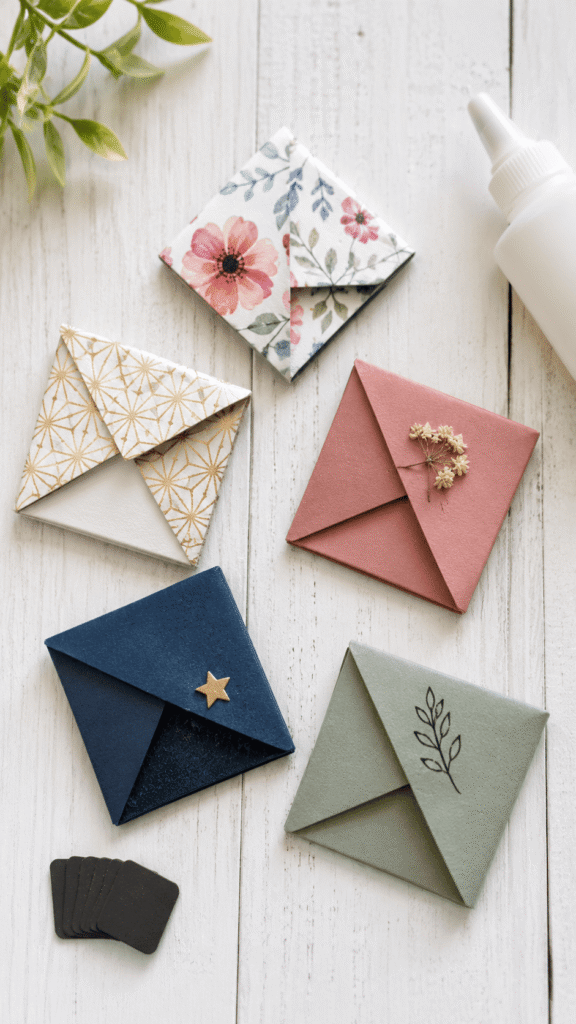
A magnetic corner bookmark is one of the cleverest and most practical bookmark designs because it grips the page corner firmly and never falls out no matter how you carry your book. Cut two identical small squares of decorative cardstock or thin craft foam. Sandwich a small flat craft magnet between the two squares and glue them together firmly with strong craft glue. The two magnetic layers grip opposite sides of a page corner to hold the bookmark securely in place. Decorate the visible outer square with stamped designs, a painted pattern, a sticker, or a small collage of pretty papers. Make a set of four or five in coordinating designs as a gift set.
Conclusion
Bookmarks are one of those crafts that prove you don’t need a big project or expensive supplies to make something truly beautiful and meaningful. These 13 bookmark ideas show just how many different directions you can take such a small and simple object, from a delicate pressed flower laminated strip to a luxurious resin piece with flowers suspended inside to a clever magnetic corner that never falls out.
Whether you’re making bookmarks for yourself, as gifts for the readers in your life, or as a fun craft activity with kids, every single one of these ideas is worth trying at least once. They make wonderful teacher appreciation gifts, stocking stuffers, party favors, and just-because presents for anyone who loves to read.
Save this article to your Pinterest boards so you always have fresh bookmark inspiration ready to go. Pick the idea that excites you most and start making today. Happy crafting and happy reading!